Blurring a background (false DOF)
This tutorial was recorded in Photoshop CS2, but applies equally to all newer versions of Photoshop, as well as all versions of Elements.
Every now and then we realise that a photo would have been nicer with a shallower depth of field. What to do?
I want to start by making something very clear – nothing you can do in Photoshop is as good as getting it right in camera. If at all possible, go back and take the shot again, with a wider aperture.
However, here is the method for achieving something vaguely satisfactory in Photoshop.
Thanks to Cristal for her permission to use this photo. It’s beautiful, but she’d like the blanket blurred a bit.

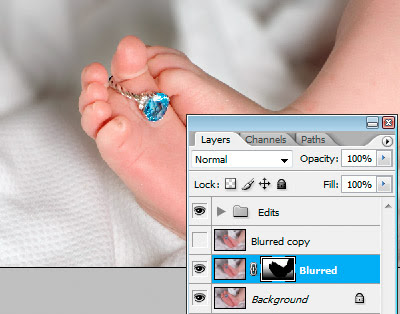
Firstly, do your edits in the usual way – that is, with adjustment layers:
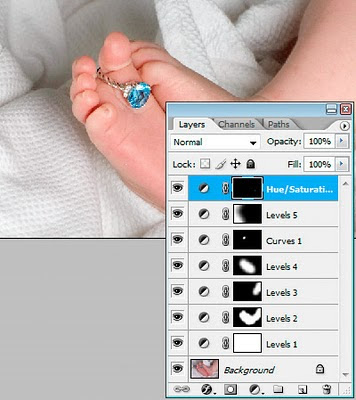
For the sake of convenience, it’s not a bad idea to group your adjustment layers to keep them tidy (this function isn’t available in Elements, sorry):
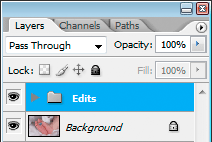
Ok, now return to the Background layer and duplicate it:
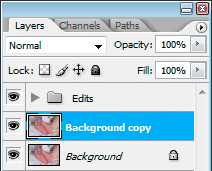
And name it appropriately:
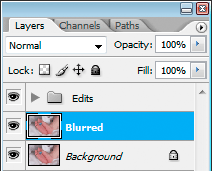
Now for the cloning. This is the key to the whole method. You need to clone in around the edge of the subject a little way, so that it doesn’t get revealed by the blur.
It’s a good idea to have at least a vague idea of how much blur you’re likely to want. If you intend only a little bit of blur, then you don’t need to clone in very far, but you need to clone quite accurately (that is, matching texture). On the other hand, if you intend to blur aggressively, you don’t need to clone so precisely, but you need to go in further.
It’s also a good idea to make a note of the size of cloning brush you’re using. I used a 60px brush in this case:
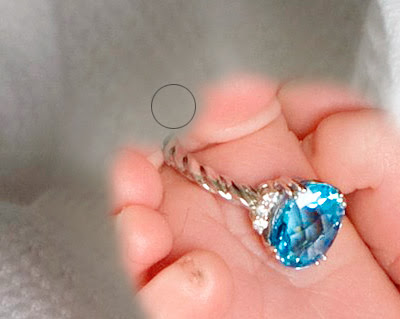
Here’s the result. Looks weird, right? I’ve cloned in around all edges of the subject by a distance of approximately 60px:
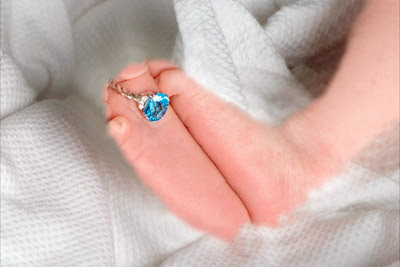
You might be wondering why the cloning is necessary. Just stick with me for now, I’ll explain more, further down the page.
At this point it’s a wise idea to make a copy of that cloned layer. Just hide it and return to the one you were working on. It’s simply insurance in case you mess up down the road.
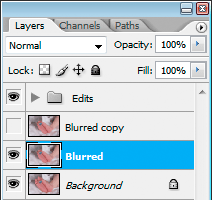
Ok, now apply your blur. There are a few different blurring methods available – I used Lens blur, and I think it gives the most satisfactory results. Remember I said you should make a note of your cloning width? Well, when you blur, make sure you don’t apply a blur radius greater than the cloning width. I cloned about 60px wide, so I blurred at 40px:

Now add a hide-all (black) layer mask to that layer:
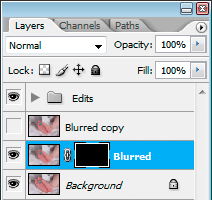
Take your lasso tool and select around the subject (close but not touching), then choose Select > Inverse to select everything except the subject …
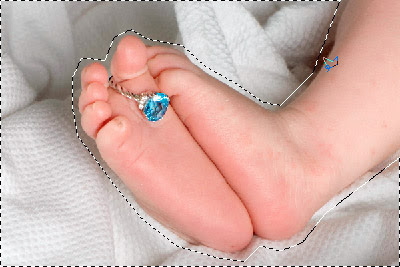
… and fill that part of the mask with white to reveal the blur:
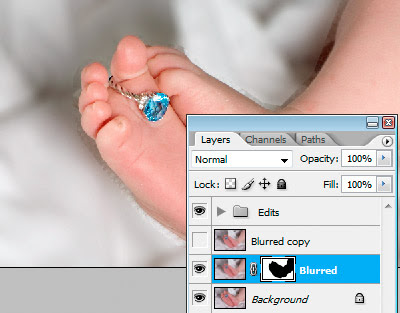
Now, there’s nothing technically difficult left to do, it just takes a bit of patience, is all. Zoom in and use a sufficiently small (soft-edged) brush to paint with white on the mask very carefully around the edge of the subject. As I’ve said many times before, a tablet is better for this kind of work, but a mouse will serve:
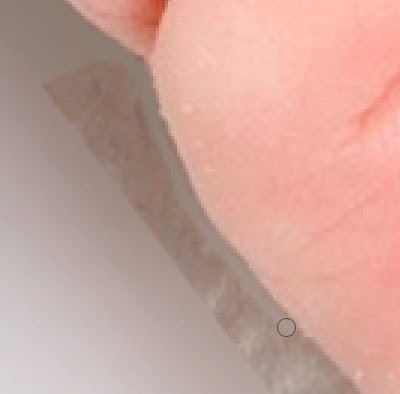
Don't forget, the Shift key is really handy for this kind of masking.
Here’s the finished result … or is it?

You’ll agree that looks really silly – of course the foreground shouldn’t be equally as blurred as the background! So there’s one more thing to do.
Choose your gradient tool, and make sure that it’s set to the "Foreground to Transparent" option. Oh, and make sure that black is your foreground colour:
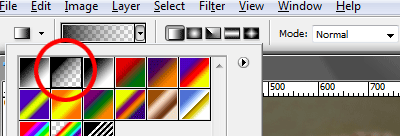
Then draw a gradient from the bottom up. I went about three-quarters of the way up, ensuring that the top one-quarter was still completely blurred:
And we’re done! Here’s the original, compared to the edited result:


As I said at the start, this is not a perfectly realistic technique. If you want perfect realism, go and take the shot again. But I hope you’ll find it useful.
Why is the cloning step necessary?
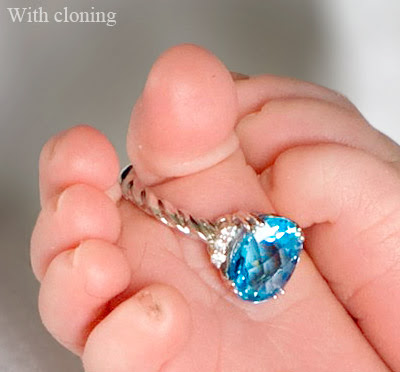
If you don’t clone part of the subject away, then the subject gets spread out and becomes visible beyond the mask barrier. Clear as mud?
Here’s the photo again. In the first screenshot, you can see a close-up of the toes in my edit. Nice, right?
Here’s the exact same edit, but without the cloning. See how the blurred toes have spread to create a "halo" behind the sharp toes?
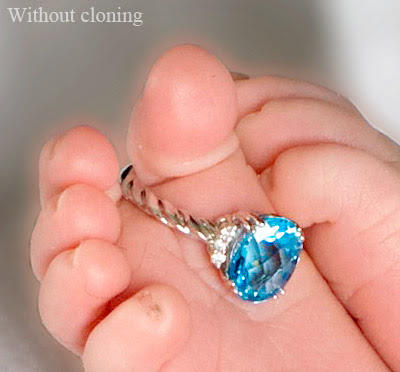
That’s a dead giveaway that you’ve been messing in Photoshop. And like I say to everyone, "The whole point to using Photoshop is not to let people know you’ve been using Photoshop" :)
Some more demonstrations of this method
Original:
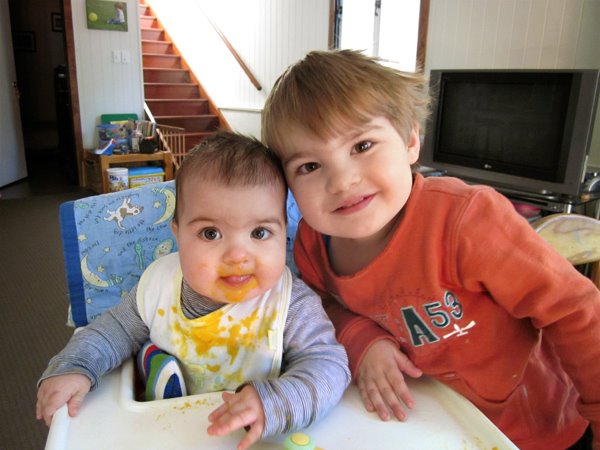
Cloned:
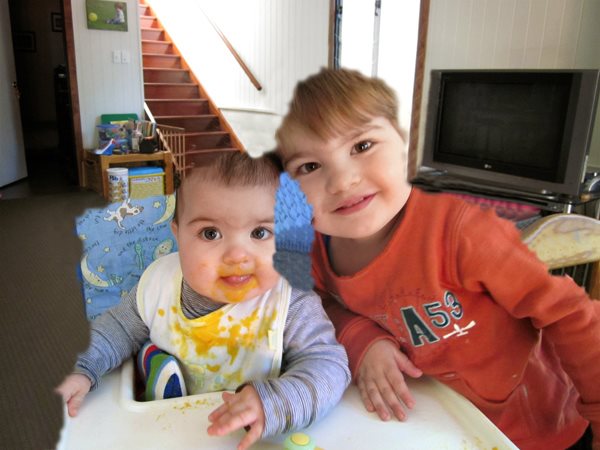
Blurred:
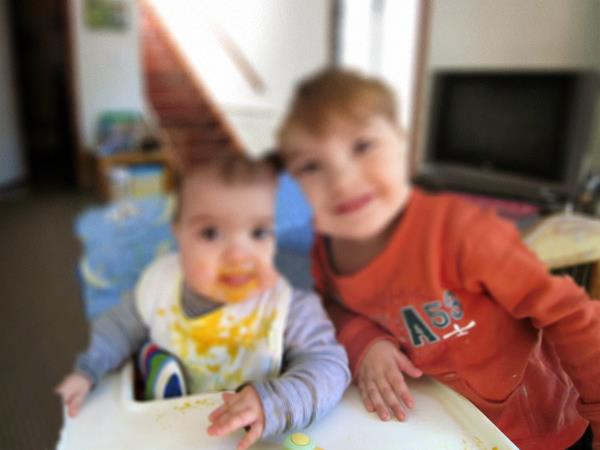
Masked:

Original:
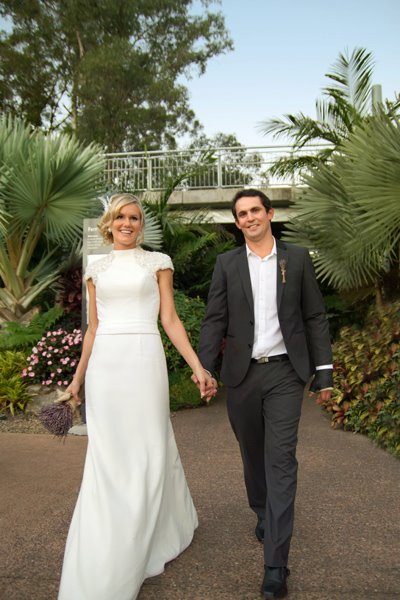
Cloned:
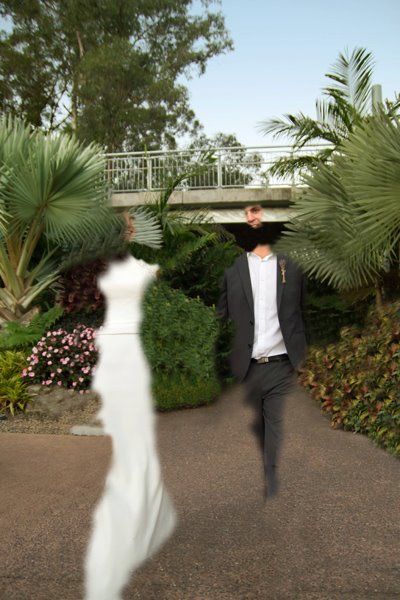
Blurred:
Masked:

Note:
I've also written a tutorial about blurring a foreground.
