Preparing files for a wrapped triptych canvas
Triptychs are wonderful, I reckon. You know, one photo chopped into three parts and hung as three separate photos? They are groovy. Not just triptychs either – you can have diptychs (two segments), quadtychs, quintychs, etc. Yeah, yeah, I made those last two up! The point is, you can divide a photo into as many segments as you want.
If you are printing a photographic triptych, or a canvas one with plain edges, it’s easy. Just crop your photo into its separate parts, and print them. But if you want to do it as a wrapped canvas (or print) – where the photo goes around the edges, then it’s trickier, right? Because you don’t want to lose any of the image to wrapping.
In this tutorial, I’ll demonstrate a simple triptych. The method I’ll show you can be adapted to any number of segments, in pretty much any layout. Oh, and it works in Photoshop and Elements equally well.
Basically, you’ll be following my canvas preparation tutorial. Have a quick read of it now, but don’t start following it yet, because there is a modification.
Skimmed it? Good.
So, you can start following it now. Do all of Part 1, and all of Part 2, then stop and come back to this article.
Done Part 1 and Part 2? Got your plain white template with the black border? Good.
At this point, we’re going to add a grid to define the segments. First, go to your Info Panel and make sure it’s set to "Inches":
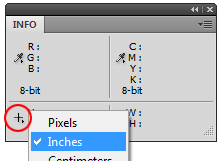
Next, zoom WAY in (at least 400%) to the top left corner of where your white box meets your black border. Turn on Rulers in the View menu if they’re not already on, and drag the little corner box out. This is the zero point of your rulers, and you want it exactly at the corner. Watch your Info Panel to make sure you drop the crosshair on exactly the right spot.
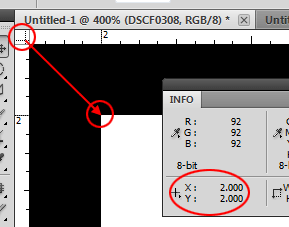
I should have mentioned, for this example, I’m making a 36×18 triptych, which will comprise of three 12×18 segments. And I’m allowing for two inches of wrap around the frame. That’s why, as you can see in the above screenshot, my black border is exactly two inches thick, and I’m dropping the new zero point of the rulers at X2 and Y2.
Once the zeroing is done, go to Edit>Preferences>Grids & Guides, and set “Gridlines every [whatever the width of your segments is]”, with 1 subdivision. More info about grids here. Then turn on the Grid in the View menu.
For my example, of course, I’ve set the gridlines every twelve inches, because that’s the width of my segments:
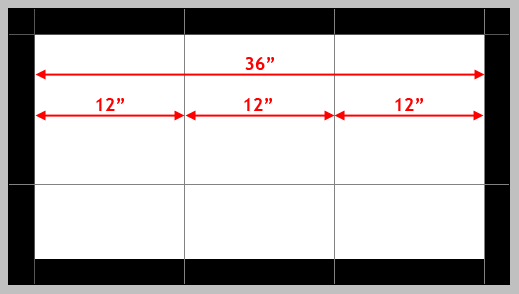
Now that the grids are turned on, you can continue on to Part 3 of my canvas tutorial. Place your image, and position it where you want it, using the gridlines to guide you.
Here’s my example. I’ve positioned myself in the left segment:
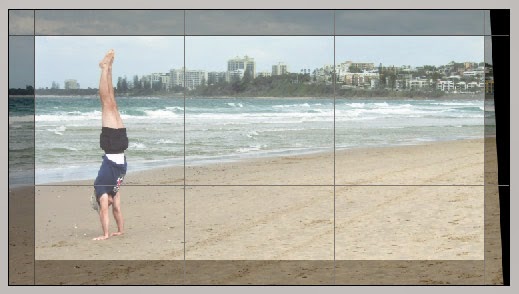
Then move onto Part 4 (extending) if needed. In my example above, you can see I need to clone some extra detail on the right-hand side.
Then, in the "Final Steps" section of my tutorial, do the sharpening and the saving as PSD. Here’s what my saved PSD looks like:
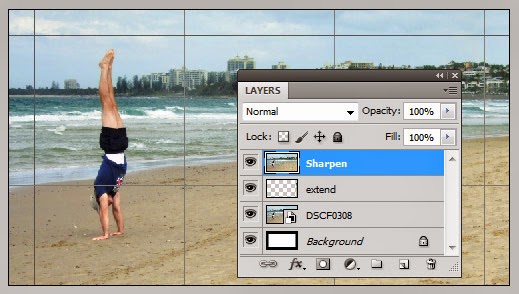
At the bottom is the template layer, then the image layer, then the layer that I cloned onto, then finally the sharpening.
The last step in my tutorial is to save the jpeg ready to send to the lab for printing. But of course in this case, we don’t want just one jpeg, do we? We need several – one for each segment.
Here comes the key to the method. While watching both the rulers and the info panel, to be sure of perfect precision, put guides either side of the gridlines. (Guides are added simply by dragging out from the ruler, if you didn’t know.) How far either side? The wrap width, of course. In my example, the wrap width is two inches, so I place a guide exactly two inches either side of each gridline:

Don’t be careless with the positioning! It has to be dead perfect. Once the guides are positioned accurately, save the PSD again so you don’t lose them.
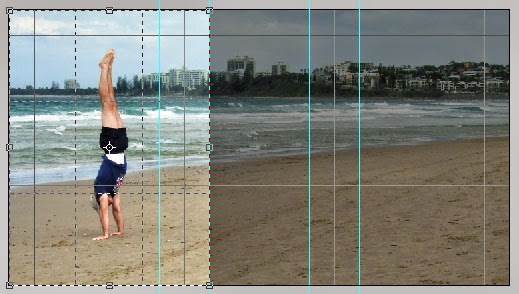
I’m sure you know where I’m going with this. Now it’s easy to prepare the segment files for print. First, flatten all the layers. Then crop the first segment. Remember, include the extra wrap width in the crop. That’s why you positioned the guides there!
Crop the first one, and save it as Jpeg Number 1:
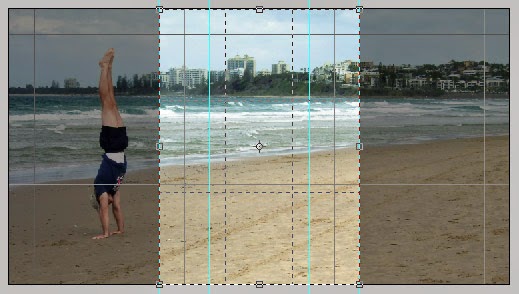
Then return to the full image, crop the second segment, and save it as Jpeg Number 2:
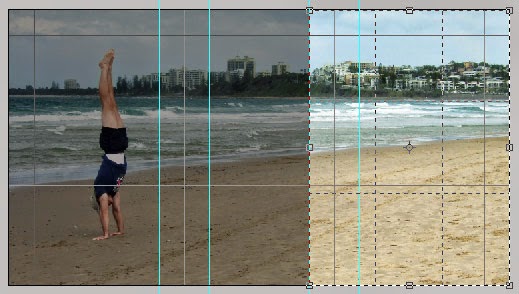
And finally, crop the third segment and save it as Jpeg Number 3:
I hope this makes sense to you.
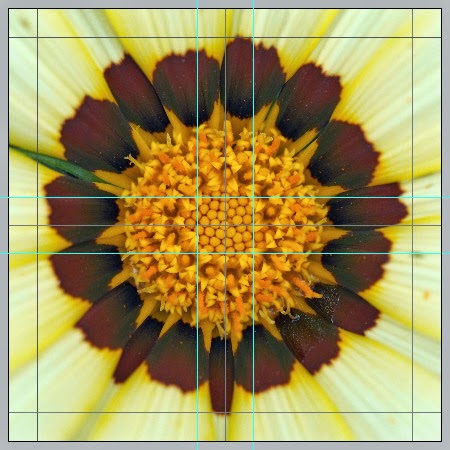
As another example, here’s a file prepared to be printed in four square sections:
The possibilities are endless.
