
Straightening horizons
Straightening an image should be the first thing you do in Photoshop. You can do it later, after editing, but it gets complicated. Much easier to do it first.
Don’t do it in raw. Straightening in raw automatically crops away some of your pixels, and that’s rarely desirable.
The procedure differs between Photoshop and Elements, so I’ll explain Photoshop first. If you have Elements, scroll halfway down the page.
Photoshop instructions
When you open the photo, it will only have one layer, as you know – the Background layer:

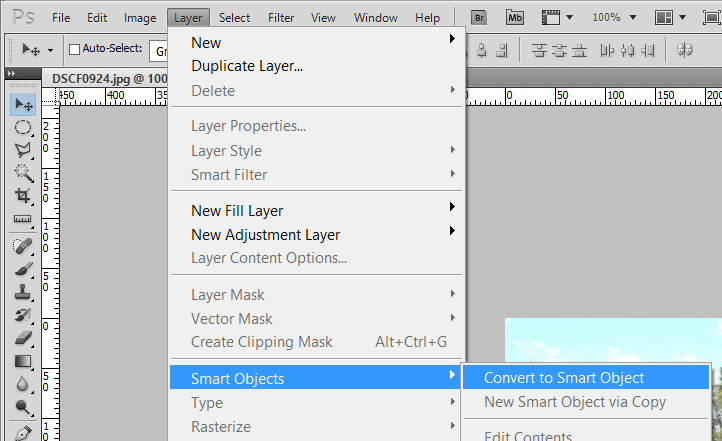
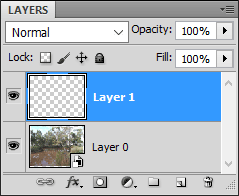
Immediately convert the Background layer to a Smart Object:
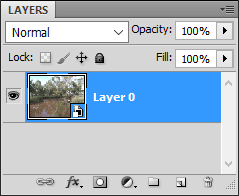
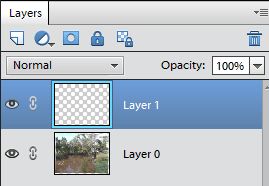
Then it will probably be called "Layer 0":
Now select the Ruler Tool from your toolbar. In recent versions, it shares a spot with the Eyedropper Tool:

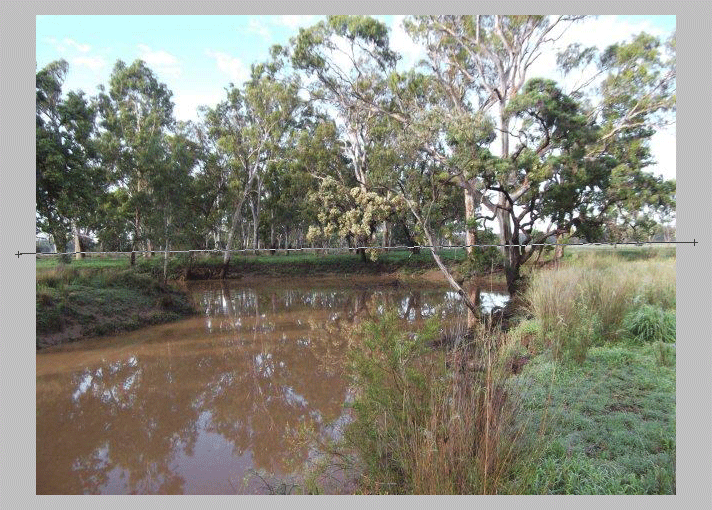
Draw a ruler along the horizon (or whatever horizontal or vertical line you wish):
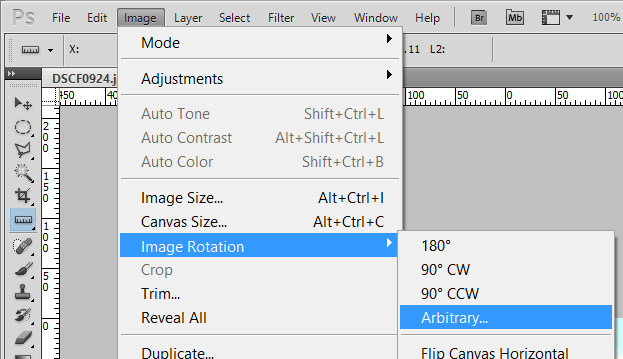
Then choose Arbitrary rotation from the Image menu:
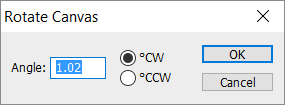
This little window will pop up to tell you the angle. Press OK:
The canvas size will expand slightly to accommodate the rotation, leaving you with empty triangles on each side:
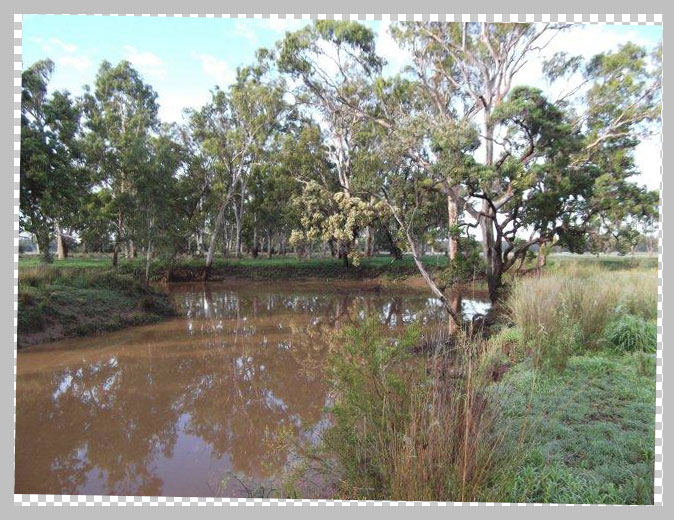
Then you can add a new blank layer and clone extra detail into those corners if you wish. This isn’t always necessary, though, and sometimes not on every side. It depends how you intend the final composition to be:
Important note:
In some cases, you shouldn’t clone immediately. It depends if you have any other pixel edits (eg liquifying or headswaps) to do first. Read this article for more information.
Elements instructions
First, right-click on the Background layer and choose "Layer from Background":
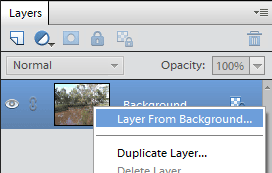
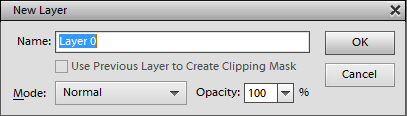
This little window will pop up advising you the layer name will be changed to "Layer 0". You can choose any name you wish, but I see no reason to bother – "Layer 0" is fine:
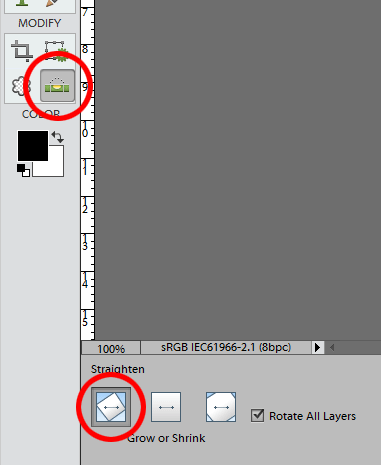
Choose the Straighten Tool in the toolbar, and make sure it’s set to "Grow or Shrink" in the Options Bar, if your version has that option:
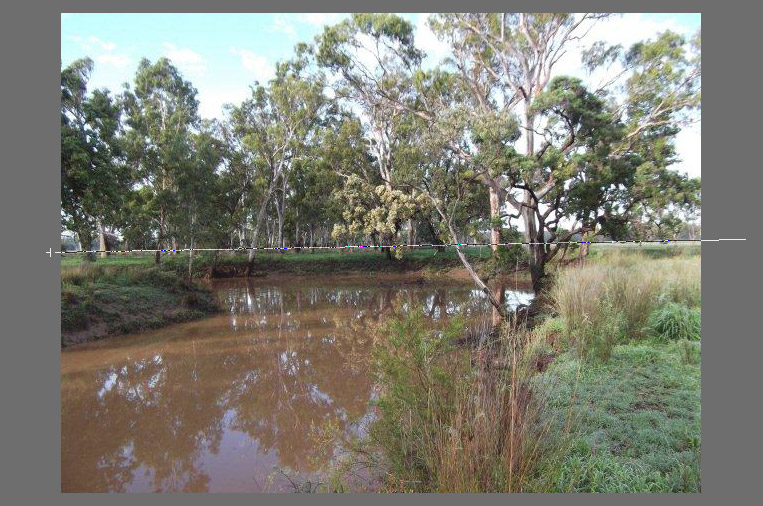
Draw a line along the horizon (or any other desirable horizontal or vertical line):
The canvas size will expand slightly to accommodate the rotation, leaving you with empty triangles on each side:
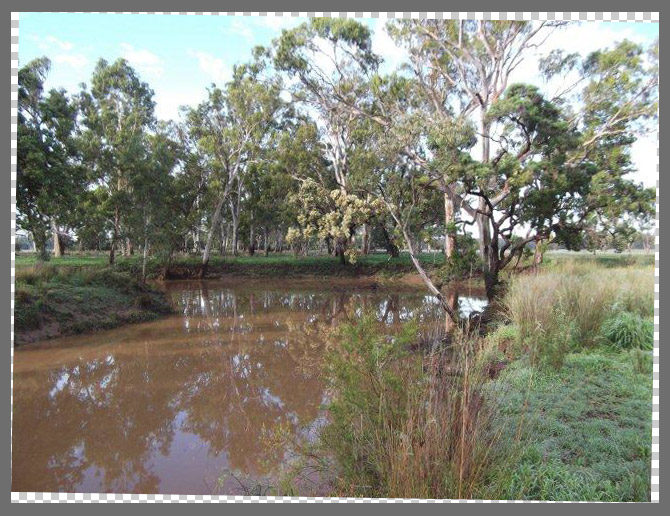
Then you can add a new blank layer and clone extra detail into those corners if you wish. This isn’t always necessary, though, and sometimes not on every side. It depends how you intend the final composition to be:
Important note:
In some cases, you shouldn’t clone immediately. It depends if you have any other pixel edits (eg liquifying or headswaps) to do first. Read this article for more information.