Ridding pesky rainbows
Ah, rainbows. Aren’t they lovely? Well, not if they’re annoying flares right across your subject’s face! I’m going to show you a quick and dirty way to fix it.
This tutorial was recorded in Photoshop CS2, but works exactly the same in all versions of Photoshop and Photoshop Elements. It's a variation of Handyman Method but with the layers in the reverse order.
Thanks to Emma W for her permission to use this photo for this tutorial. You can see the problem:
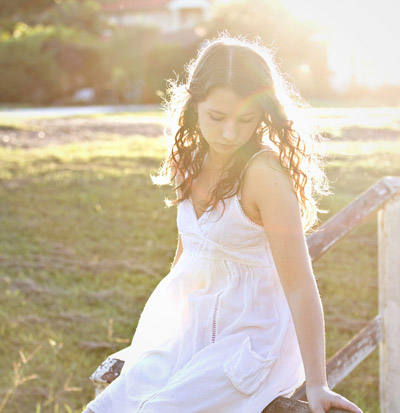
(Actually, there was some debate on the forum as to whether it really is a problem, or a lovely embellishment to the photo. For now, we’ll assume the former!)
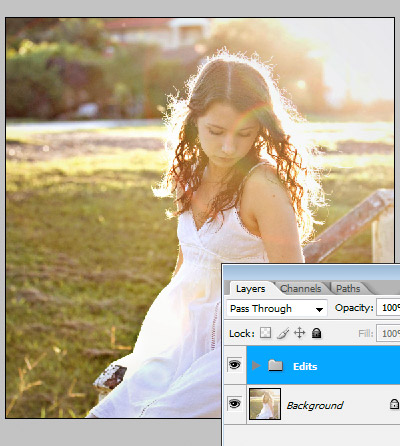
First, I’d do my regular editing with a few layers, then group them neatly to keep them out of the way:
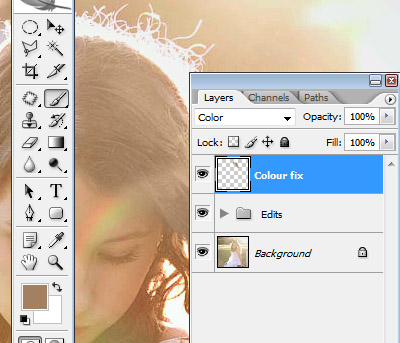
Then I add a new blank layer, change its blend mode to "Color" and name it "Colour Fix":
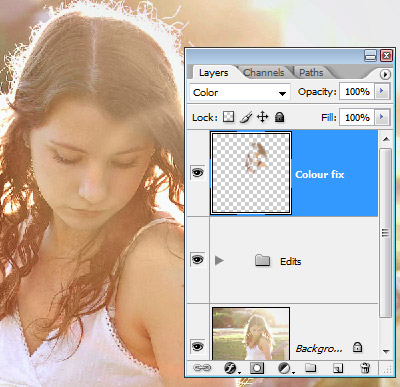
I choose the eyedropper tool, and sample a bit of good colour nearby. In this example, I’ve sampled a bit of good hair colour (from the circled area) ready to re-colour the rainbow hair:

Then I switch to my brush tool, and paint the sampled colour onto the area:
You can see that the area is still too light, but don’t worry, I’ll fix that in the next step.
By the way, you can use a 100% opacity brush for this bit, but generally I’d take it down to 30% or so, for a bit more finesse.
I continue in this manner. Eyedropper to sample a colour, then paintbrush to paint it on. In the end, I get a result where the colour looks ok all over:
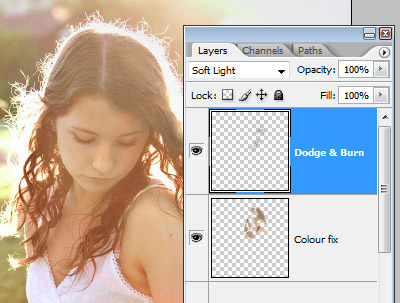
Now the colour is reasonable, but there are light streaks everywhere. Time to make a new blank layer, and this time I change its blend mode to "Soft Light" and name it "Dodge & Burn":
I choose my brush tool, and this time I take the opacity way down to 5%:

Then I paint with black over the light areas to gradually darken them:
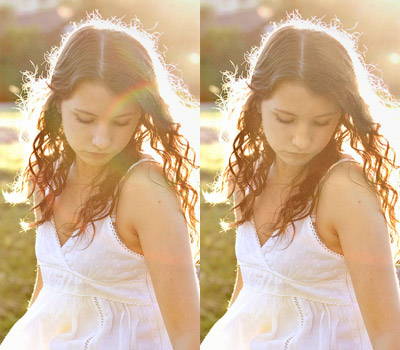
Here’s the end result comparison. It’s not perfect, I know it. To do it properly would take much longer, and involve some pretty fiddly Hue/Saturation work. But for a three-minute fix, this method can’t be beaten: