
Rounded corner shapes
How to make the ubiquitous rectangle-with-two-square-corners-and-two-rounded-corners shape.
I’ve created this tutorial in Elements 9, and it’s relevant to all versions of Elements and Photoshop.
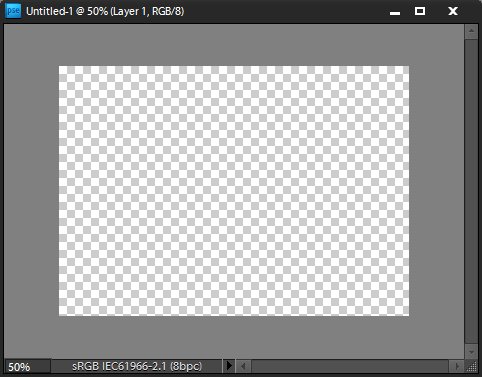
I begin with a blank file:
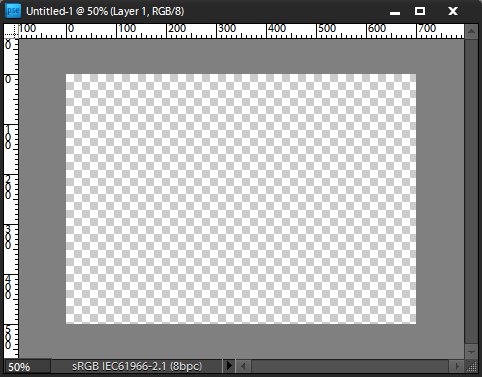
This requires a bit of planning. It’s a very good idea to use guides to map out where you want the shape to be. First, turn on the Rulers …

… which appear at the left and top of your image window:
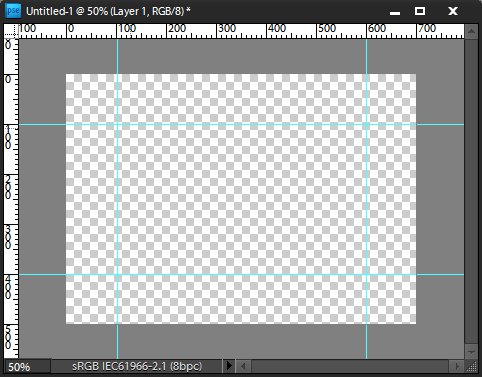
Then you can drag guides out from the rulers and place them in position. Here, I’ve positioned them 100px in from each edge:
Then I go to the Shape Tool in the toolbar (shortcut is the U key). By default it’s on the plain rectangle shape, so I click and hold on that to choose the Rounded Rectangle shape instead:

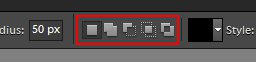
Then I take a look at the Options Bar for that tool. The default radius for the roundness of the corners is 10px …

… but that’s too small for my taste this time. I change it to 50px:

It’s time to draw my rounded rectangle. If a rounded rectangle was all I wanted to achieve, I’d simply draw it to the exact size of my guides, and that would be that.
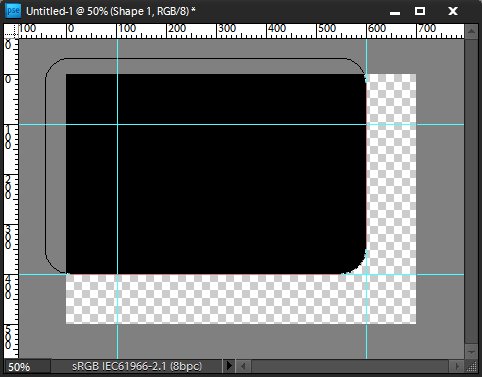
But I only want two corners to be rounded. So I draw the rectangle partially off the page, like this:
Here’s the trick. I go back up to the Options Bar, and turn my attention to the five little buttons which control how shapes interact:
Note: In Photoshop CC, the buttons appear in a little drop-down like this:
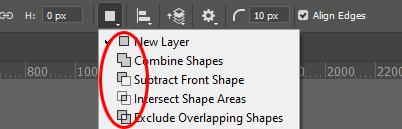
There’s the normal shape mode (which I just used to draw my initial shape), the Add mode, Subtract, Intersect and Exclude.
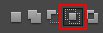
Intersect is the one I want this time:
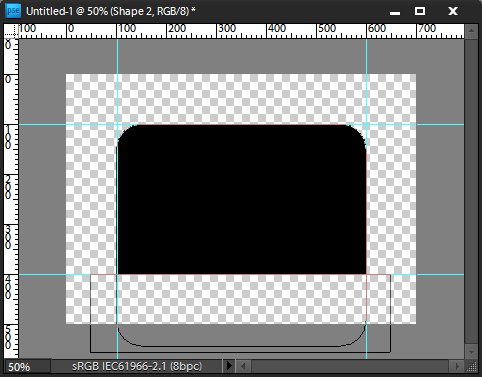
It’s easy! I just draw another rounded rectangle which overlaps the first one from the bottom right corner inwards. Because the tool is now set to Intersect mode, I get this result:
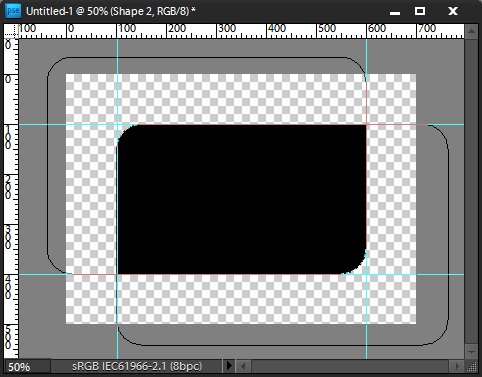
You can see where the whole paths are (off the page), but they only create a visible shape where they overlap.
Now you can place your image:
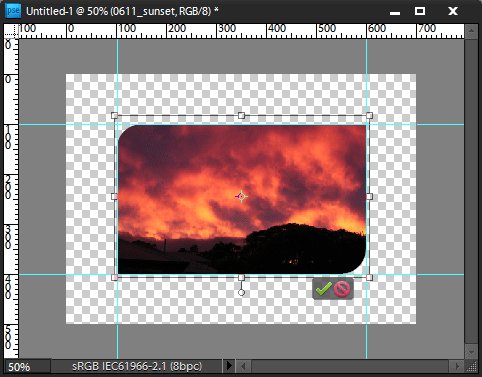
(More information about placing images in shapes in this tutorial.)
Needless to say, there are endless practicalities for this method. Once you get used to these five little buttons …
… you can make all sorts of shapes!
In this one, I started with a rounded-corner rectangle, then "subtracted" the bottom part to end up with another hybrid shape – two round corners at the top, and two square ones at the bottom:
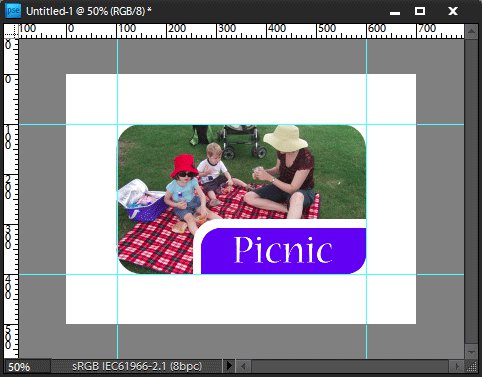
Go nuts! Here I’ve used a combination of subtraction and intersection to add a title bar:
I hope you have fun with this!