
Orange gradient for a dusk sky
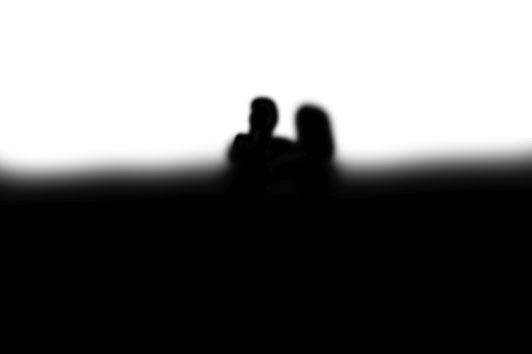
Ok, here’s what we’re aiming for:
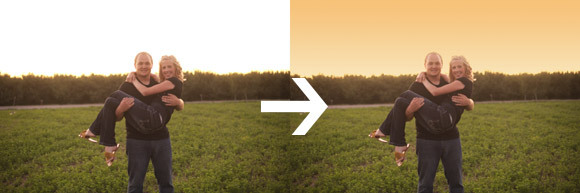
We want a bit of colour in that blown-out sky. Many thanks to Sue for allowing me to use this photo.
As usual, I’ve done this tutorial in Elements. The method is exactly the same in any version of Photoshop.
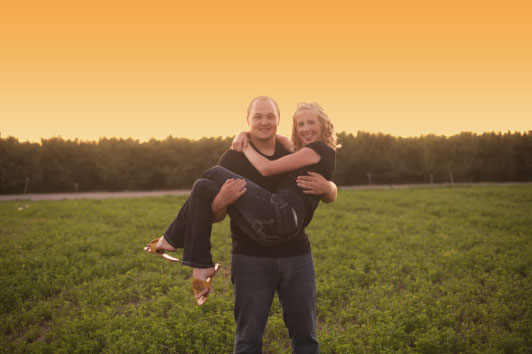
Here’s the original:

First things first, folks. Make sure you process your photo warm enough! It looks really incongruous if you add a really warm sky to a really cold photo. Let’s face it, if you take photos at this time of day, they’re going to be warm. Don’t fight it.
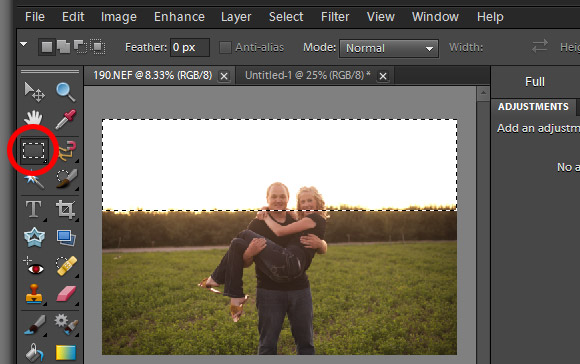
STEP 1: Select
Choose your marquee tool, and roughly select the sky. It doesn’t have to be precise in any way:
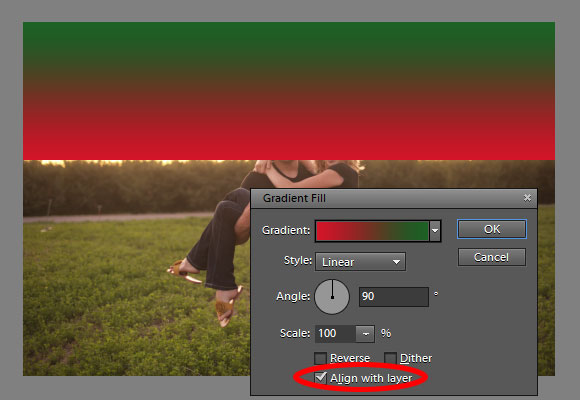
STEP 2: Add a gradient
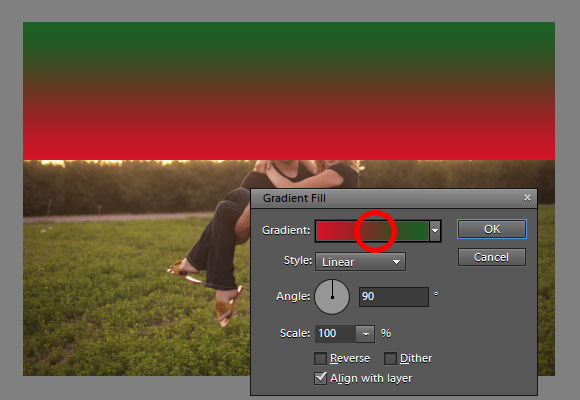
From the adjustment layer list, choose "Gradient":
Choose any old two-colour gradient. This green and red one is good enough. Make sure the angle is at 90 degrees, and make sure "Align with layer" is checked:
STEP 3: Choose colours
Ok, now let’s pick some appropriate colours. There’s a lot of clicking involved, which gets a bit annoying, but stay with me …
To begin, click on the little gradient …
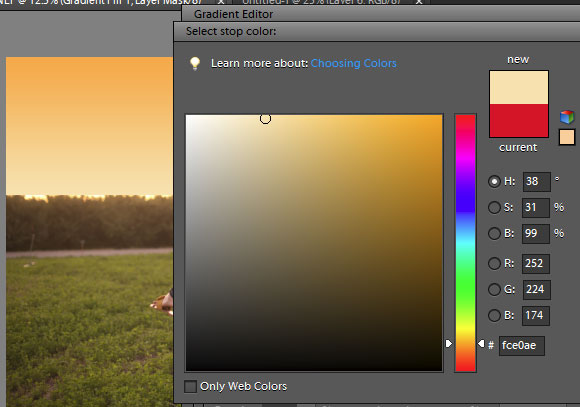
… which will bring up the Gradient Editor. Let’s change the green first. Click on the green slider (1) then on the Color swatch (2):
Then a new window opens, and you can choose a darkish orange. Then press Ok.
(Don’t sweat if you haven’t got the exact right colour – it’s easy to come back and change later.)
Then, repeat the process for the other colour of the gradient. Click on the slider, then the swatch …

… then choose a light orange colour:
Then press Ok a bunch of times until all the dialogs are closed and you’re back to your image.
STEP 4: Blend mode
Change the blend mode of the gradient layer to either Darken or Multiply. Try both and see which works best. For this photo, I found that Darken was better.
Alrighty then, this is where I’m at. The gradient is lovely, but of course it’s not blended in properly yet (it’s still showing the hard line where I made the marquee selection):

STEP 5: Masking
Now it’s just simple masking to blend it in. A nice big soft white brush to fade the orangeness into the trees, then a small black brush to block it from the subject’s faces. Here’s what my mask looked like when I’d finished:
Here’s the result:
(If simple masking like this is confusing to you, I urge you to consider my little Layers & Masks Class. It will change your life.)
STEP 6: Modification
Now’s the time to adjust things as necessary. In some cases, you’ll need to double-click on the layer to open up the Gradient Editor again, and change colours. It’s easy to do.
In this case, I was happy with the colours, but the whole thing was a bit strong. So I reduce the layer opacity a little:
STEP 7: Noise
Add a noise layer per my noise layer tutorial, then clip it to the gradient layer.
Do NOT skip this step. It is very important to prevent banding.
And here’s one more look at the before-and-after.