Easy, funky, crazy clipping masks
This article follows my posts about storyboards and clipping masks (here and here). If you don’t know how to make storyboards and collages and things, I encourage you to read those tutorials.
I was asked "How would you go about making a storyboard with some ‘effect’ to its edge?"
Let’s have some fun. This is the easiest way I know to do this, and I hope you love it.
Of course, the first step is to decide on the size and shape of your document. I’m making a small one today. Here it is, my plain blank transparent document:
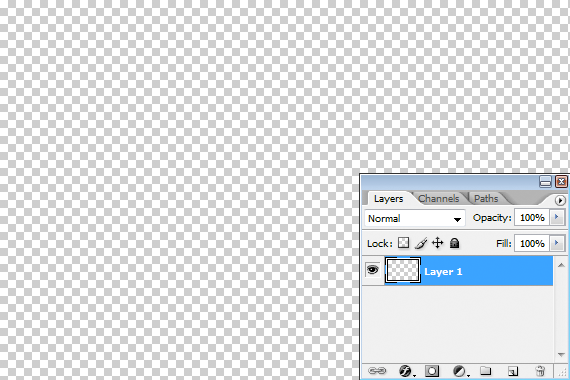
(This tutorial is demonstrated in Photoshop CS2, with updated screenshots for Photoshop CC where necessary. The method applies equally to all versions of Photoshop and Elements.)
Bet you never realised that brushes can be fun! Choose your brush tool, then find all the presets:
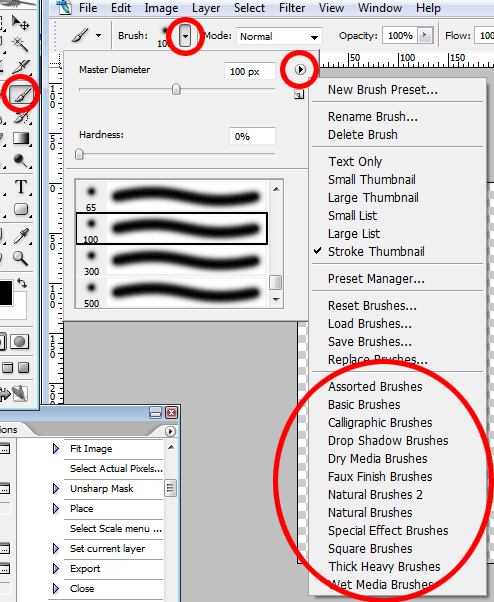
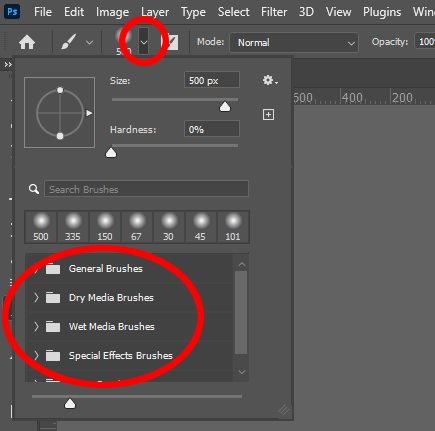
By default it’ll probably be on "Basic Brushes". You can see there are lots of other brush libraries to choose from. And inside each of those libraries are dozens and dozens of different funky brushes. Honestly, you could use a different one every day, and have fun for a whole year.
In this example I've chosen the set called "Dry Media Brushes". But of course you can explore all the different sets.
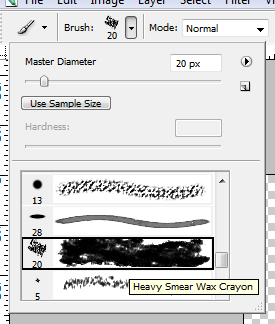
I’ve chosen a brush called "Heavy Smear Wax Crayon":
Then, just paint. Scribble away and fill the space. Mine looks like this:
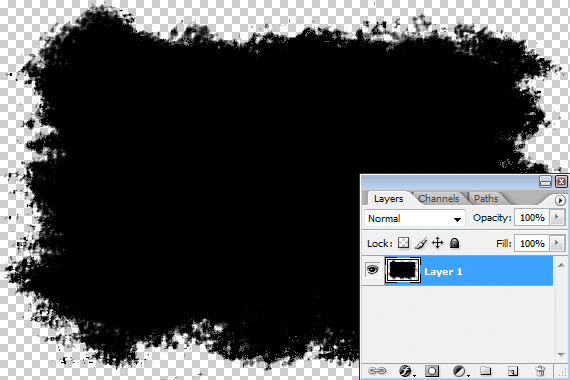
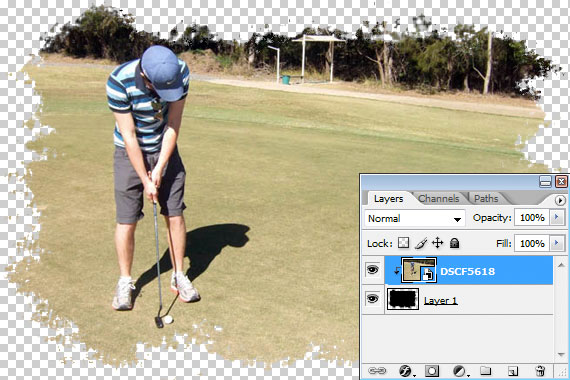
You know what to do from here. File>Place and place your photo, then clip it. Voila!!!
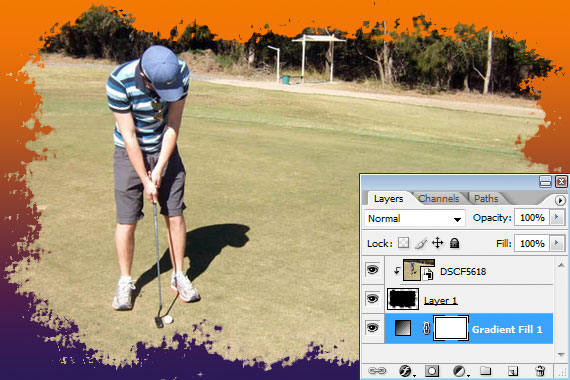
Of course, it needs a background, so I add a gradient layer behind:
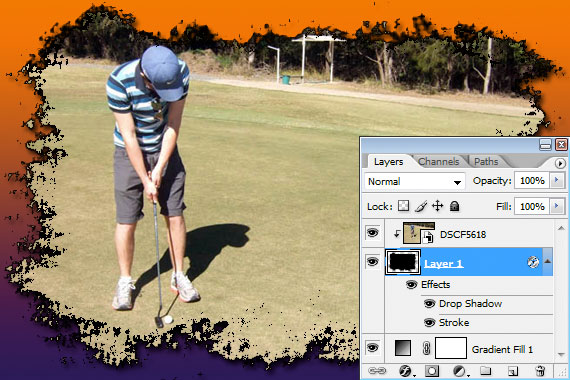
And finish it off by adding some layer styles to the painted layer:
I hope you enjoy playing with this as much as I enjoyed writing it. Remember, every time you try a new brush, you’ll get a new effect.
