
Create your own wall guides
Maybe you've read my tutorial about preparing an image for canvas printing. But before you prepare it, you’ve got to choose it, and its size. The latter is really important – it’s easy to think that a print size (eg 20×30") is really big, but in fact it’s very small once it’s on your wall.
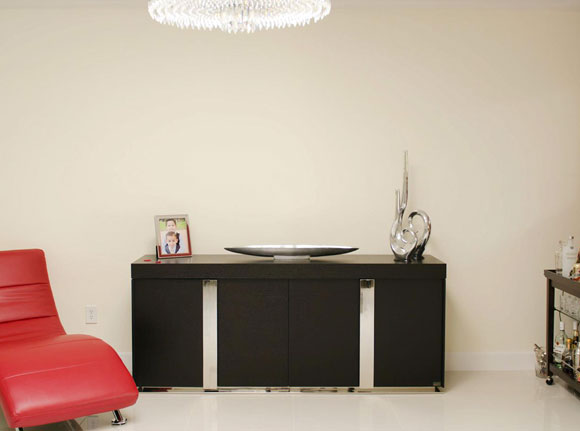
So, the best way to choose a photo and an appropriate size is to see it on your wall first. And it’s very easy to do. First, take a photo of the wall on which you’d like to hang the print. Here’s an example wall:
To make it simple for yourself, don’t photograph the wall at an angle. Stand perpendicular to it to take the shot. This tutorial can be adapted (sort of) for an angled photo, but it won’t be as easy, or as accurate.
Next, get out your measuring tape and measure something on the wall. In this example, I know that the brown cabinet is 79 inches wide. In other cases, you can measure the wall itself (if its corners are visible in the shot), or a windowsill, etc. You need a reference width to go by.
(Make sure you measure something on or very close to the wall. There’s no point measuring a table in the middle of the room, for example.)
Choose your Crop Tool, and enter the width of the object you measured (79 inches in this example). Make sure there are no values in the Height or Resolution fields:
(I recorded this tutorial in Photoshop CS2, but it works in all versions of Photoshop.)
Crop the image from one end of the object to the other, as precisely as you can. In the case of furniture, like this, make sure you use the corners closest to the wall, not closest to the camera:

Here’s the cropped portion I end up with:

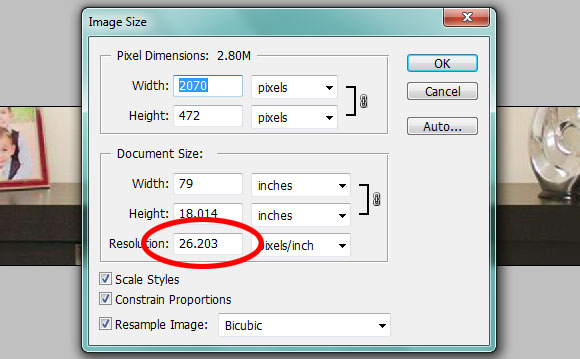
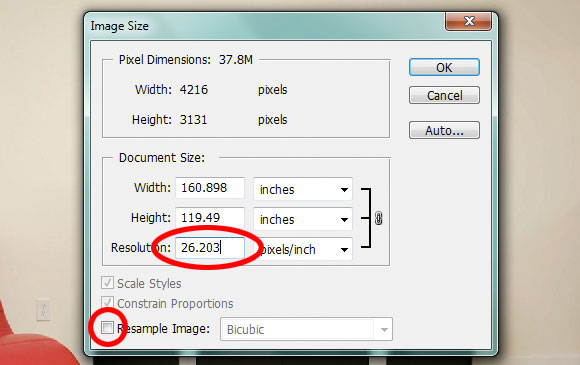
Now, open your Image Size dialog:

You don’t need to do anything at all in this dialog. Just write down (or select and copy) the Resolution value. In this example, the resolution is 26.203:
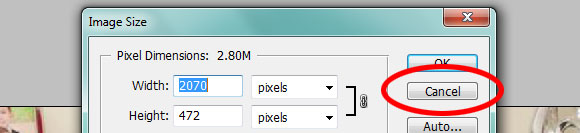
Then press Cancel to exit out of the Image Size dialog:
Then return to the original full-sized image. You can do that by going back in the History Panel, or just by Reverting as I’ve done here (or even by closing without saving, then opening again):
Once you’ve got your original photo back, go to the Image Size dialog again:
Make sure "Resample Image" is turned off, then enter the Resolution you noted earlier. When you do this, the Width and Height fields will change of their own accord, which is exactly what you want:
Great! Now your image is "to scale", so to speak. Time to add the clipping mask for the canvas.
Choose your rectangular Marquee Tool, and choose “Fixed Size” as the style. Then enter some dimensions, eg for a 20×30 print:

Then simply click (just click, not click and drag) somewhere in the image to make the marquee. Then drag it around to put it where you want it:

Add a Solid Color layer, and there’s your clipping mask, ready to go!
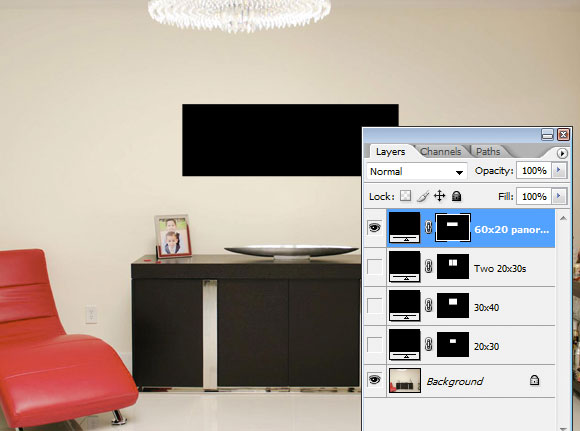
In this example, you can see I’ve got a few different print sizes on different layers, so I could try out a few different photos and sizes, to help me choose a wonderful print for the wall:
(If you don’t know how to use clipping masks, please visit this tutorial.)