Demonstration: Extending a studio floor and backdrop in Photoshop
In a thread in Ask Damien, Valerie asked:
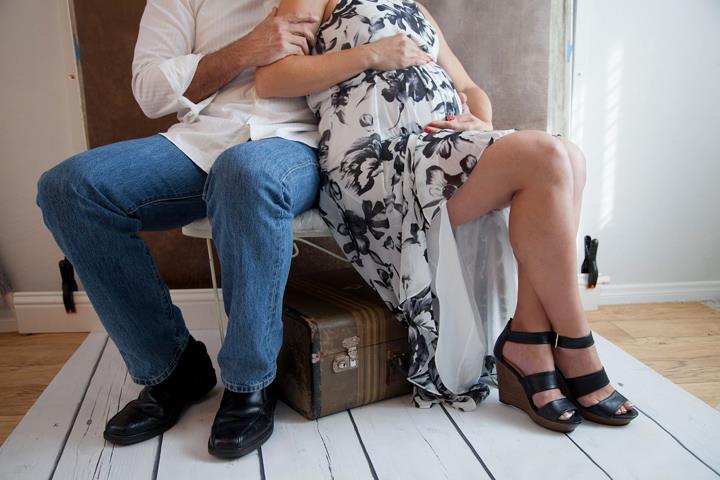
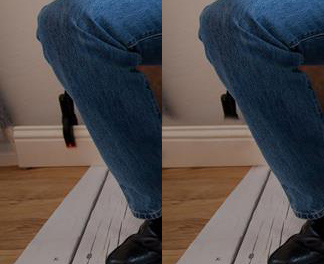
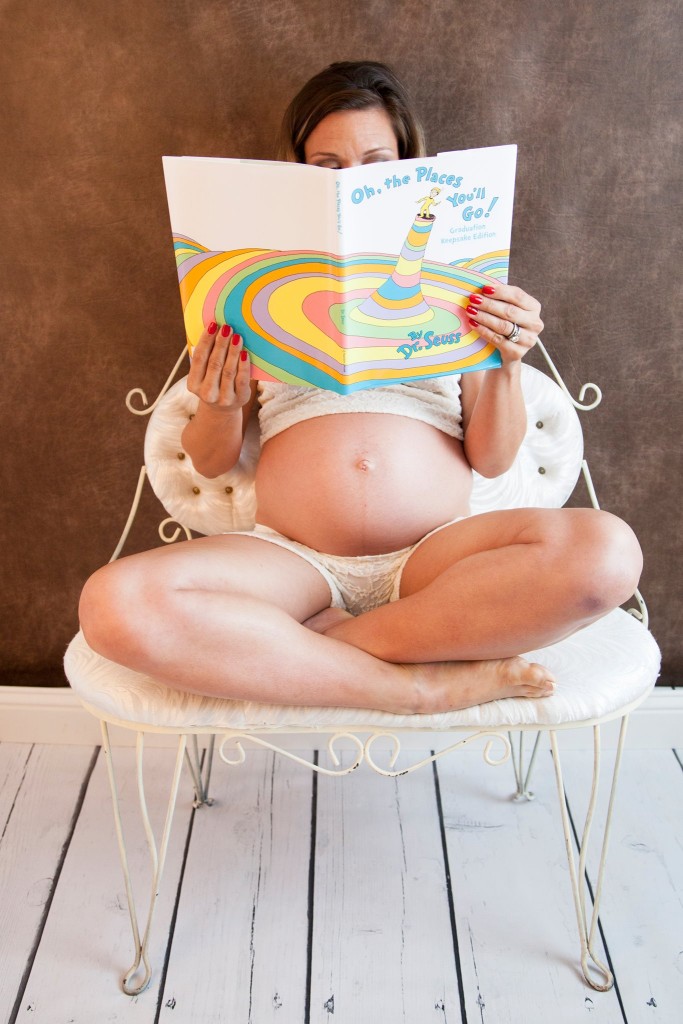
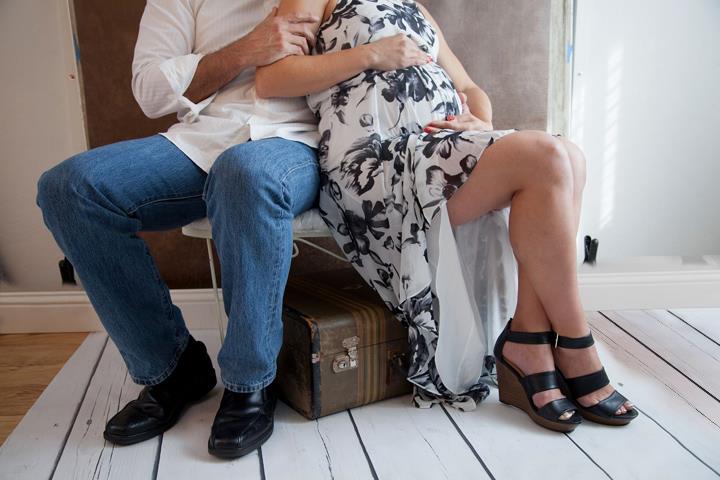
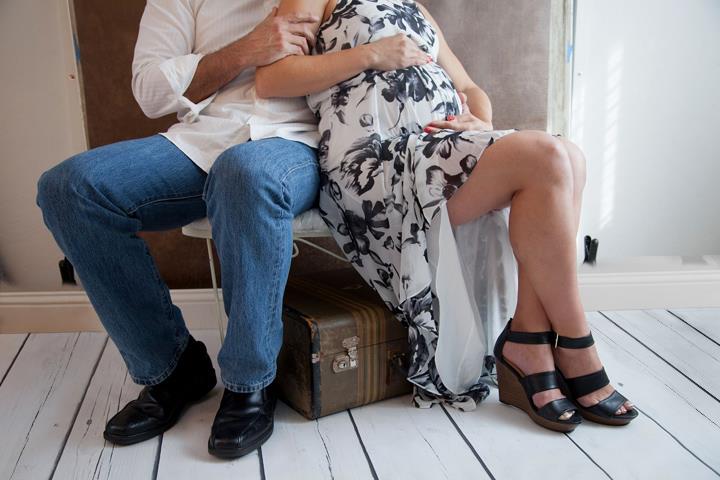
"I’m still figuring out Photoshop. I learned how to stretch backgrounds a few months ago and learned content aware fill this week…but correcting the spots around the legs in this photo has me stumped. How do I fix this without just cropping it out?"
Other members suggested cloning and healing, but I knew that those functions were only a very tiny part of the solution. I asked Valerie if she had another photo showing a clearer view of the flooring, which fortunately she was able to provide. Then I went ahead and demonstrated the following fix …
(Note: This was done in Photoshop, but would be the same in Elements.)
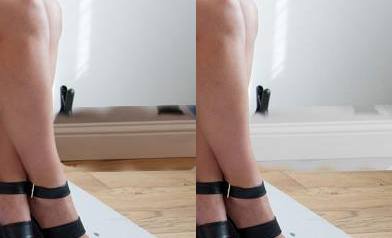
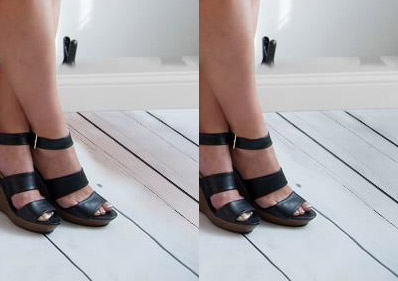
First, I used the Clone Stamp Tool to fix the baseboard in the bottom left corner:
Then I copied that clean section of baseboard from the left, and moved it to the right, where I stretched it slightly to fix the space, and masked it in:
(Note the optical illusion – it looks a lot darker on the right-hand side, doesn’t it? I assure you it’s exactly the same piece of baseboard.)
Then I added a Hue/Saturation layer, and clipped it to that baseboard piece. (Clipping: Ctrl Alt G or Cmd Opt G in Photoshop; Ctrl G or Cmd G in Elements). Then fiddled with the sliders until the board was light enough to be plausible:
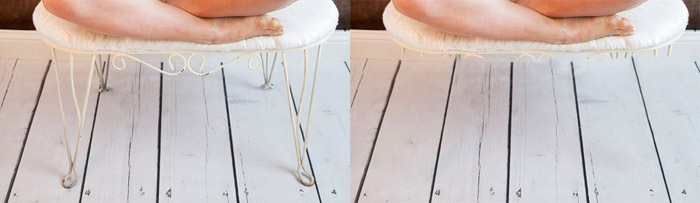
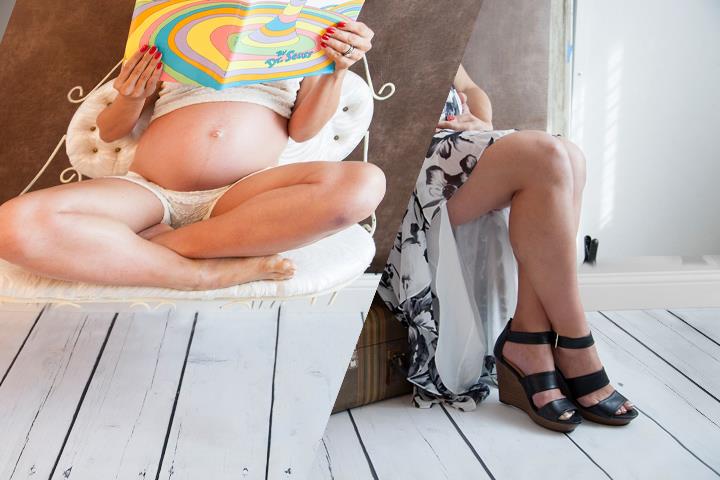
This is the other photo that Valerie was able to provide me with:
I carefully cloned out the legs of the chair, so I had nice clean floor boards to work with. This cloning was the longest part of the whole procedure:
I saved that floorboards photo, and closed it. I returned to the main photo, and used File>Place to insert the floorboard photo, then used the Edit>Transform> functions to line the boards up appropriately on one side. I temporarily lowered the opacity of the layer to see the alignment, of course, then returned the opacity to 100% when I was satisfied:
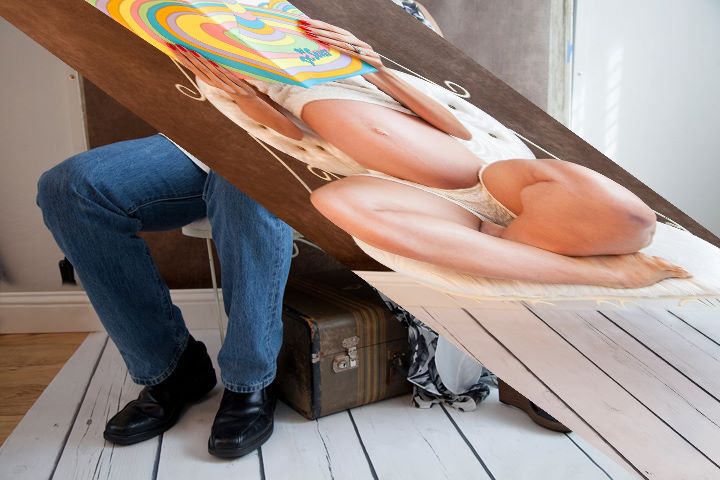
I carefully masked those boards in:
Of course the colouring was all wrong, so I clipped both layers of the Handyman Method to the floorboards layer, and made the boards look right:
Then I repeated the process on the other side. I placed the floorboards photo again, and transformed it to suit …
… masked it in …
… and used The Handyman Method to make it look correct:
I was happy with the floor. Now it was time to do the backdrop. Valerie had given me other photos of it, but none of them were quite suitable, so I "cheated" by creating a new backdrop. First I used a gradient layer to make a smooth wall:
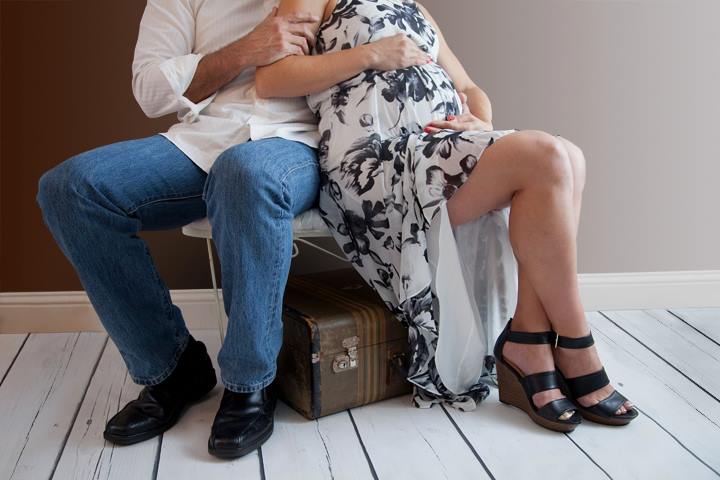
Finally, I added a Cloud Filter layer to give it some texture. (I can’t remember which blend mode I used for this):
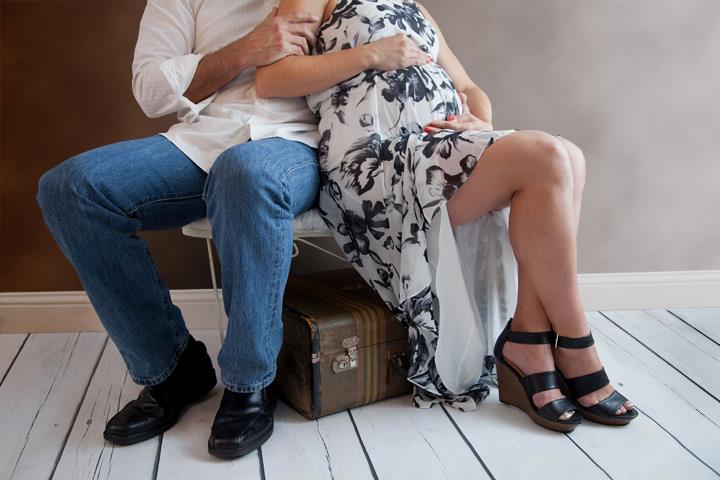
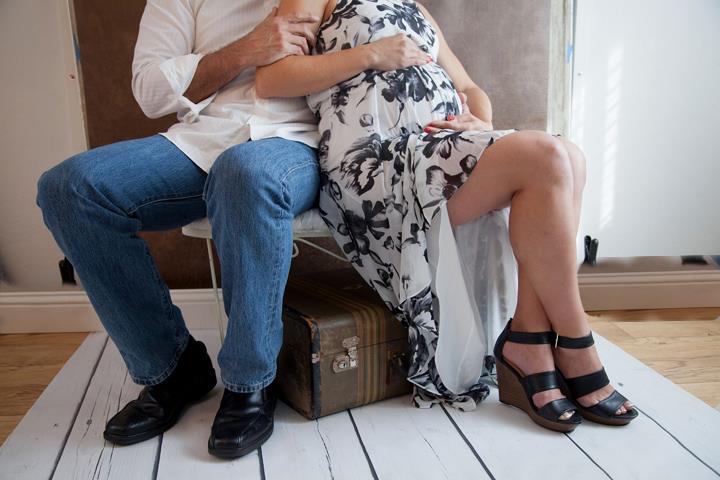
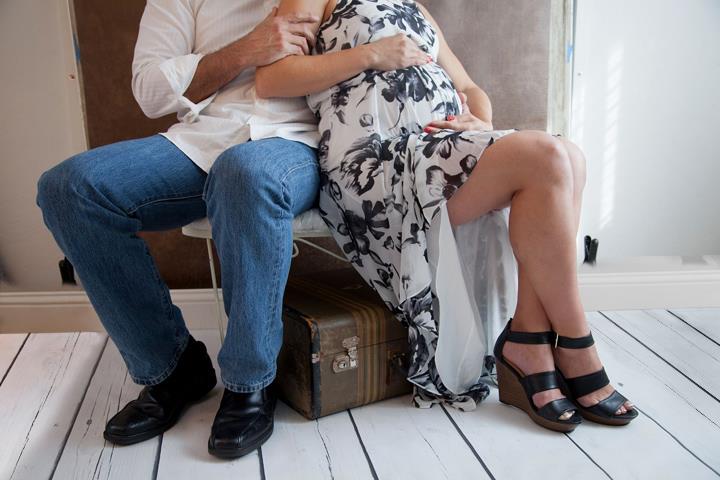
Here’s the overall before-and-after: