
Tutorial: Preparing photos to fit in a locket
This is a request that every photographer will receive at least once in your career. Your client wants to put a precious photo into a precious piece of jewellery.
You're used to printing normal size photos, and hopefully nice big photos for a juicy profit margin. So this task might bewilder you a little bit. How do you print tiny?
The strategy
You can't ask your lab to print on a tiny piece of paper, so you'll print your tiny photo on a normal photo (probably 6x4 inch) then cut it out later. At face value, this procedure seems simple enough. But ...
Two potential problems
Even if you or your customer are very skilled with scissors or scalpel, one little cutting error can ruin the photo. So in the method I'm about to show you, we'll be printing multiple copies of the tiny photo, just to be safe. If you mess up cutting one, you can start again on the next one.
Sometimes it's difficult to accurately measure the inside of a locket. And if you get the size wrong even by a millimetre, it might not sit safely in there. Moreover, we know that labs generally print our photos a couple of percent bigger than we ask for, to prevent white edges on our prints. So between both of these issues, it's darn hard to get the print size exactly right for a locket photo. Therefore, in the method I'm about to show you, we'll prepare a few different sizes just in case.
Get the info
Notwithstanding the difficulties, it's important to measure the locket size as accurately as you can. Try not to use a "rough guess" if you can help it. (If it's a new locket, it might come with a dummy photo inside it. If so, take it out and measure it accurately.)
The method
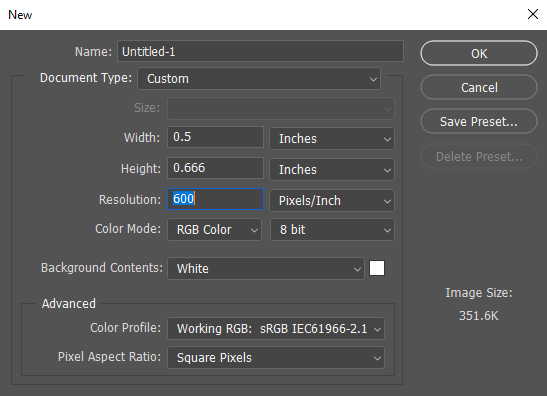
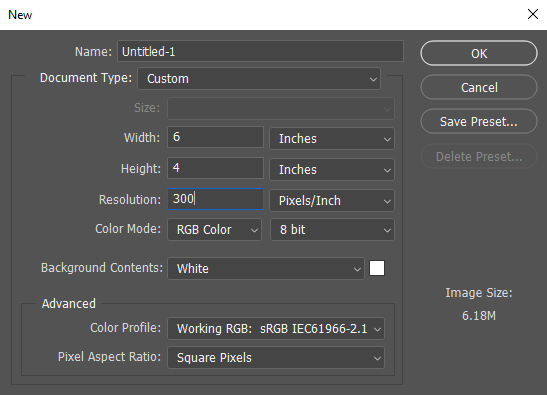
Make a new blank document in Photoshop, at the exact width and height you require, but at twice your usual print resolution.
In this example I'm preparing for a locket that's half an inch wide and two thirds of an inch high. Maybe you'll be measuring yours in millimetres, which is fine too.
My lab's normal print resolution is 300ppi, so I'm making my document 600ppi. And of course in sRGB as usual.
Next, use File>Place to put your chosen photo into the new document.
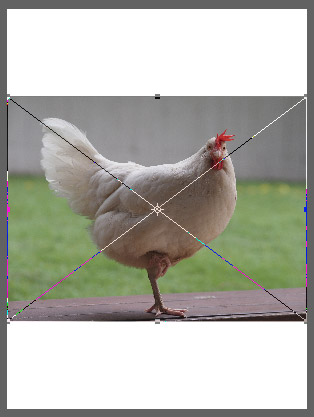
Then enlarge the photo to fill the frame with your subject's face.

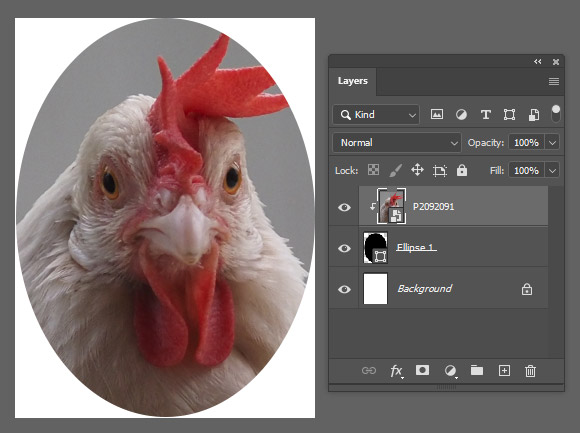
This next step is optional. If the locket is round, you might wish to make the photo round too. You do this by making a clipping mask in the usual way.
But it's ok not to do this. Especially if the locket is some other shape like a heart or a moon or something. In that case, it might be better to leave your photo square and worry about the shape later when cutting.
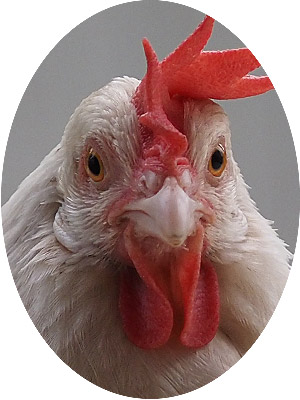
Anyway, for this tutorial I'm going to make an oval.
The next step is sharpening, which is also optional. It's awfully hard to know exactly how to sharpen for a print size you've never done before, so if you do it, I suggest keeping it gentle.
Now you can save that file. (As a maximum quality Jpeg is fine, there's no need for a PSD.) Then close it.
Now it's time to make your 6x4 print file. Just a plain white document. For this one, use your lab's usual resolution (300 in my case):
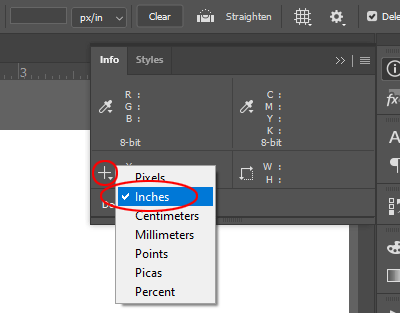
Once the blank document is open, make sure your Info Panel is visible, and make sure its units are set correctly for this task. In my example I'm measuring the locket in inches, so my Info Panel has to be in inches too. If you are measuring your locket in millimetres, make sure your Info Panel is in millimetres too.
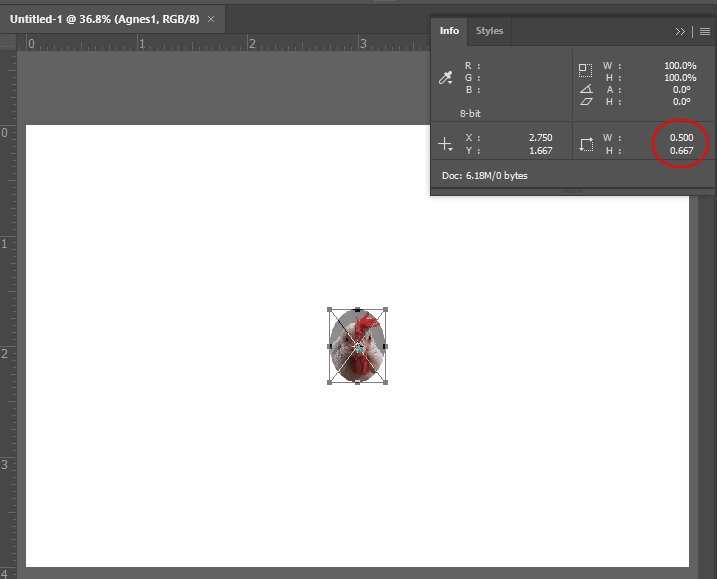
Now go to File>Place and choose the jpeg file you just saved. (If Photoshop gives you a choice, use "Place Linked".)
The image will appear right in the middle of your document. Hopefully it will be the right dimensions, but you must immediately look at your Info Panel to make sure, before pressing Enter/Return to commit the placement.
Now use your Move Tool (V) to move the photo over to one side.

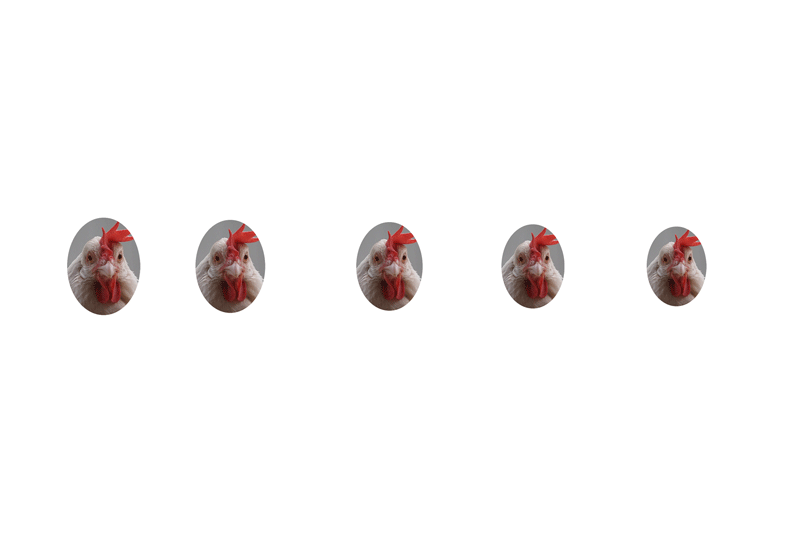
Then hold down your Alt key (Option for Mac) and drag the photo across to make a copy of it. Then Alt-drag again to make another copy, and so on, until you have five copies of it:

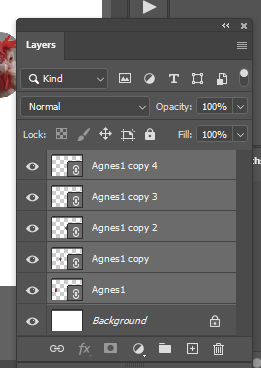
Now when you look at your Layers panel you'll see there are five image layers. Click on the first one and hit Ctrl T (Cmd T for Mac) to get the transform handles. Change the width and height to 110%:
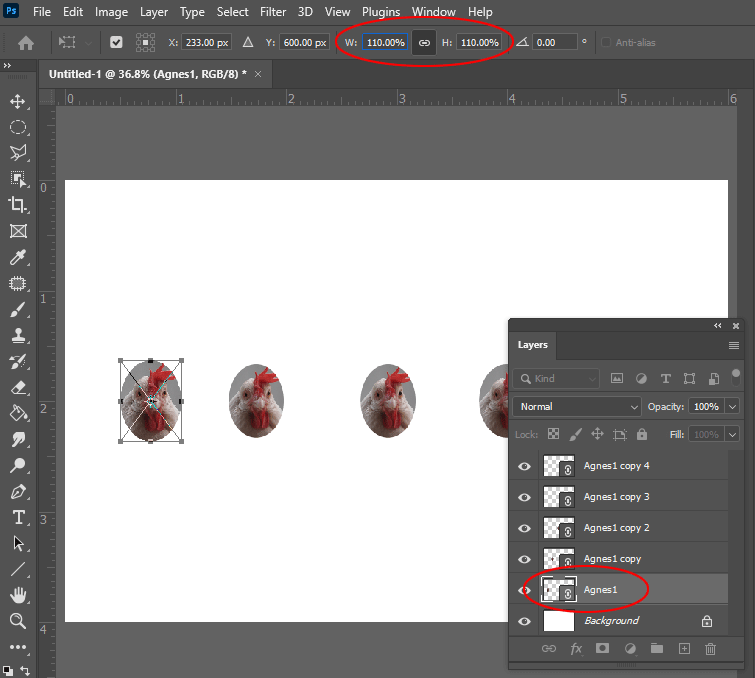
Then choose the second layer and make it 105%. Leave the third layer exactly as it is. Make the fourth layer 95%, and the fifth layer 90%. Now your row of images will be slightly diminishing in size:
Do you understand what we've done here? Remember at the beginning I talked about the difficulty in getting the print size exactly right? This way, you've made one photo the size you think it should be, but for safety you've also made a couple slightly bigger and a couple slightly smaller.
If you want to be ultra-safe, you could make seven images, ranging from 115% down to 85%. Or heck, maybe you could even squeeze in nine images!
Finally, it's time to make multiple copies of each size, to allow for cutting errors. In the Layers panel, select all five layers (by clicking on the top one then Shift-clicking on the bottom one):
Then just like before, choose your Move Tool then hold down your Alt or Option key, and drag a couple more copies of all five images. Now your page looks like this:
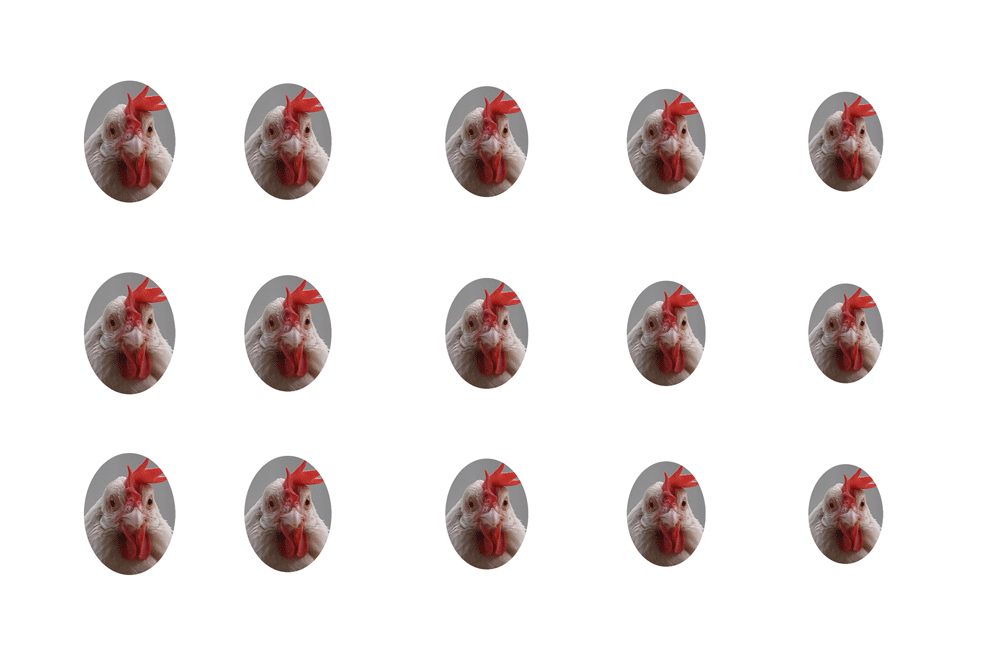
There you have it! A 6x4 print file ready to send to the lab.
When it comes back, you can carefully cut out the one you want, and pop it in the locket. I hope you get your cutting right on the first try, but if you don't, don't worry! You've got plenty of spares.
Good luck!