
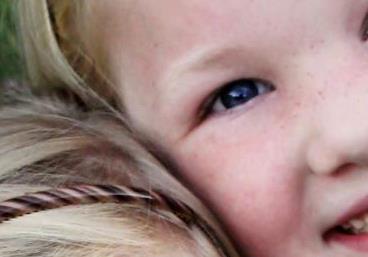
Patch Tool for eye bags
A simple fix for under-eye circles. It doesn’t work for every photo, but when it does work, it’s quick and easy.
(Elements doesn’t have the Patch Tool, but this method applies pretty much the same to the Clone or Healing tools. This tutorial was captured in Photoshop CS2 but works exactly the same in all versions.)
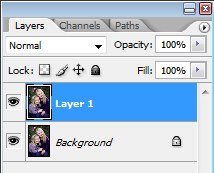
First, duplicate the Background layer (or maybe select the face, and duplicate that):
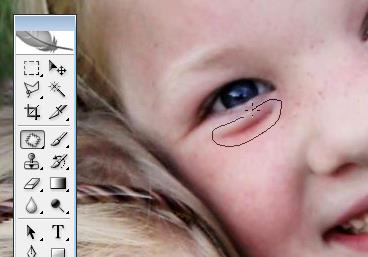
Choose the Patch Tool, and draw around the problem area:
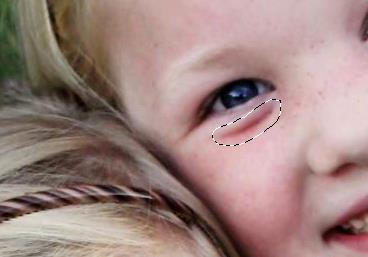
When you release the mouse, the marching ants will be going around your selected area, the same as any other tool:
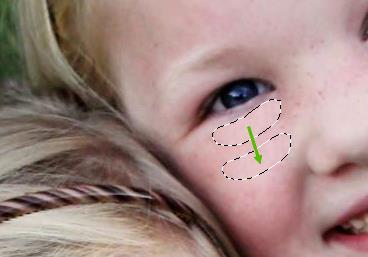
Click and drag the area to another area of plain detail. Release the mouse when you’re chosen a satisfactory area:
Press Ctrl D (Cmd D on a Mac) to deselect the marching ants. Now, the area looks too flat, of course:
Repeat the previous steps for all the other eyebags in the photo, until no eyebags are visible at all.
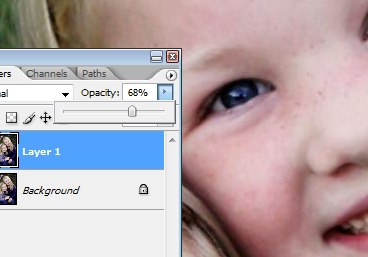
Then lower the layer opacity gradually to let some of the natural shape of the bags come through, so your subject doesn’t look like a weird robot:
Other uses
This method also works great for crows feet and other facial wrinkles.