Sky replacement method
Of all the methods for sky swaps I’ve ever tried, this is the winner. It has never let me down. It works pretty much the same in Photoshop and Elements.
(Let’s not forget, of course, that there is no substitute for getting something right when shooting. The method I’m about to show you is handy, but not as handy as nailing your shot in camera, then drinking beer instead of editing.)
The first thing I want to say is – build your own sky library! Every time you’re out with your camera, and you see a charismatic sky, snap it!!! Add it to your folder of sky images – you never know when you’ll need them.
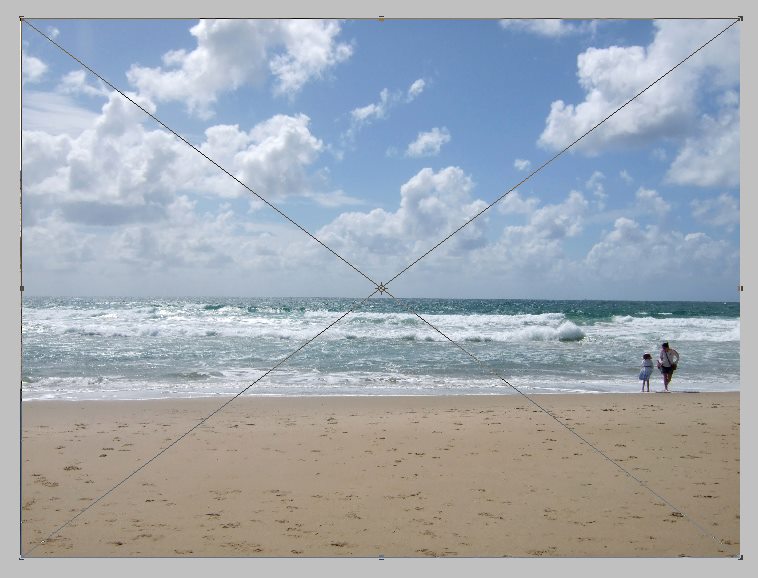
Here are a couple that I snapped at the beach yesterday:
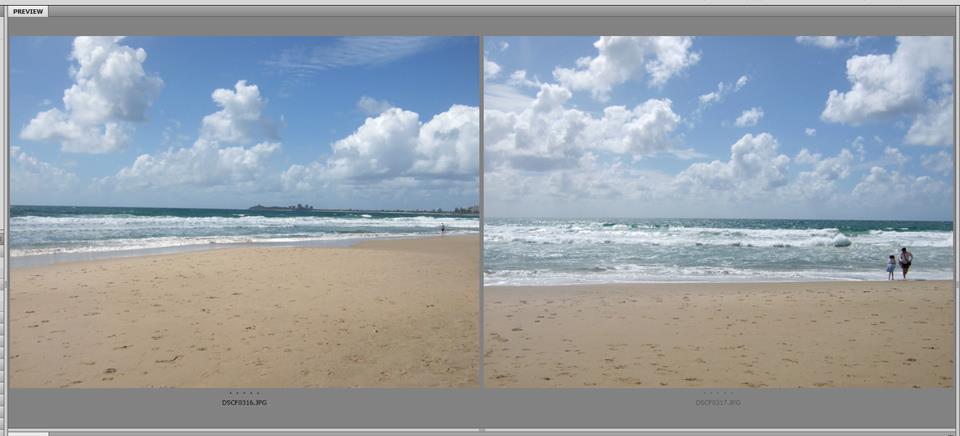
Of course it’s best to shoot ’em in raw format if you can, but never pass up a great sky just because you don’t have your DSLR with you. I’ve successfully used phone snaps in the past. Whatever camera you have with you is better than nothing.
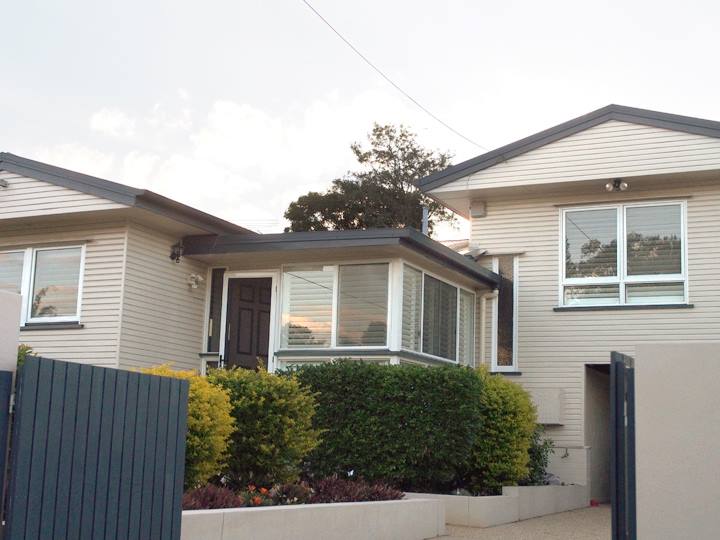
Here’s a photo with almost no sky detail:
This method actually works best if the sky is completely white in your photo. So in this example I’ve masked on a white Solid Color layer to get rid of the remaining detail. (It could also be done with Levels – more info later). And of course, if I had decided to get rid of the power cable in this photo, now would be the time to do so. But I’ll leave it there, because it’s relevant to the demonstration:
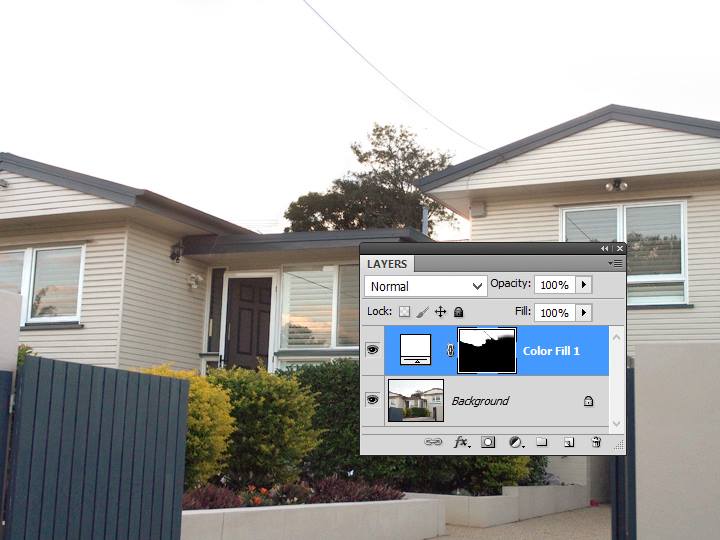
If you can achieve a perfectly white sky during raw editing, that’s the best option of the lot. Usually I’ll start by trying to save the existing sky in raw, but if I decide that a sky transplant is the way to go, then I’ll go all Rambo on it in raw, and blow it away. Of course, be careful not to blow out any desirable detail like leaves and stuff.
Next, go to File>Place Embedded (or just File>Place) to put the sky file onto your photo:
Important:
DO NOT open the sky photo first, then copy-and-paste or drag-and-drop it onto your main photo. If you do that, it won’t be a Smart Object, and Smart Objects are important. You must use the Place function.
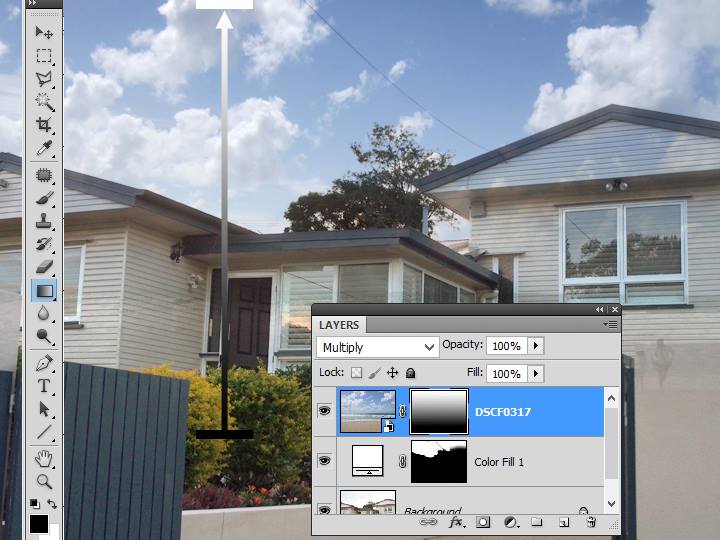
Once the file is placed, press Enter to commit the placement, then lower the opacity to roughly half, so you can see where you’re positioning it:
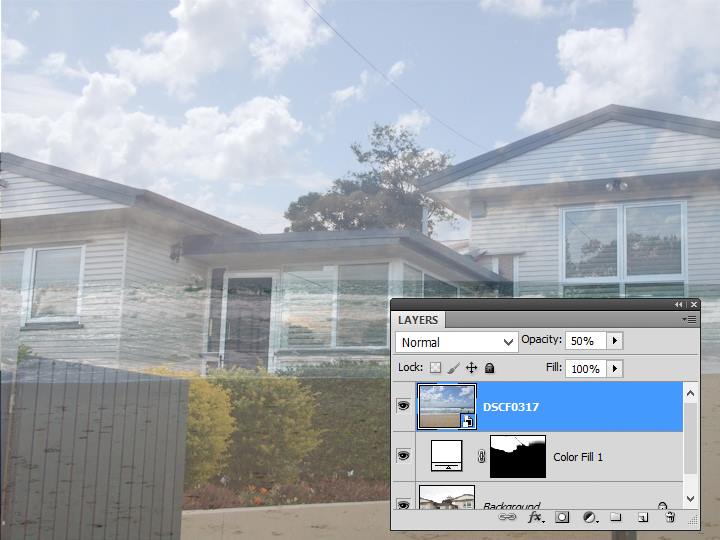
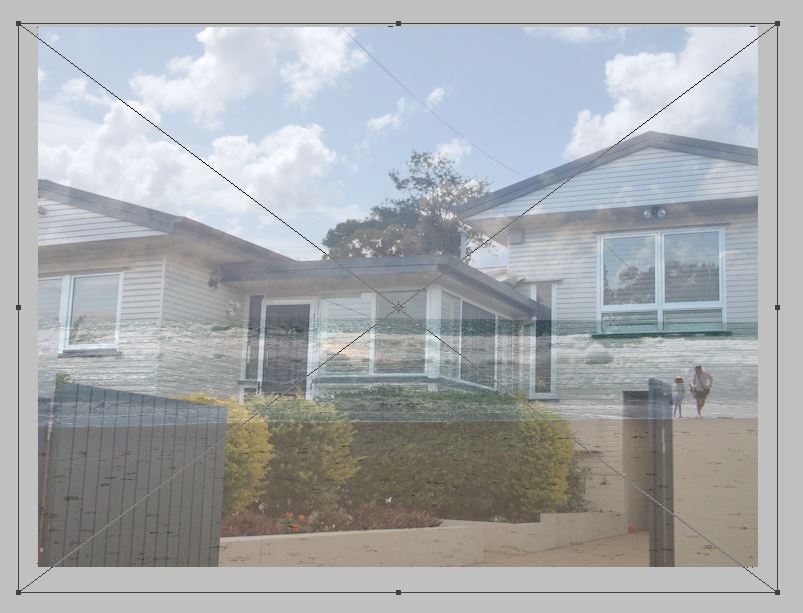
Ctrl T (Cmd T for Mac) will give you the handles again, and you can resize it, move it, and even rotate it if needed, so it’s just where you want it:
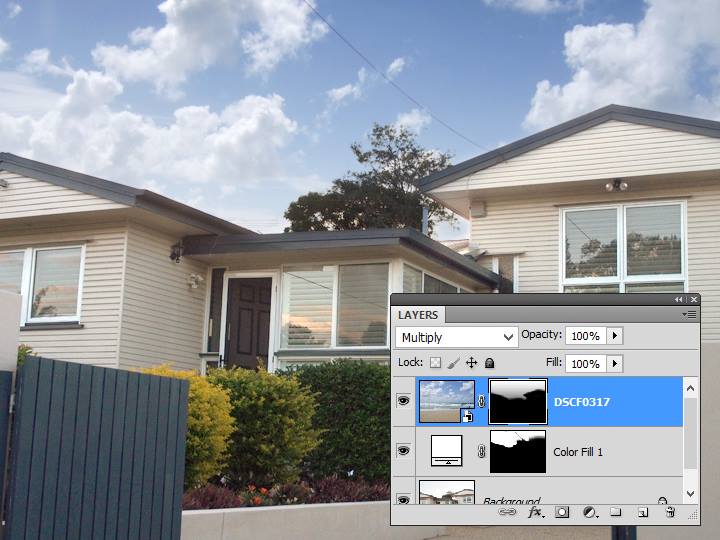
Then increase the opacity to 100% again, and change the blend mode to "Multiply":
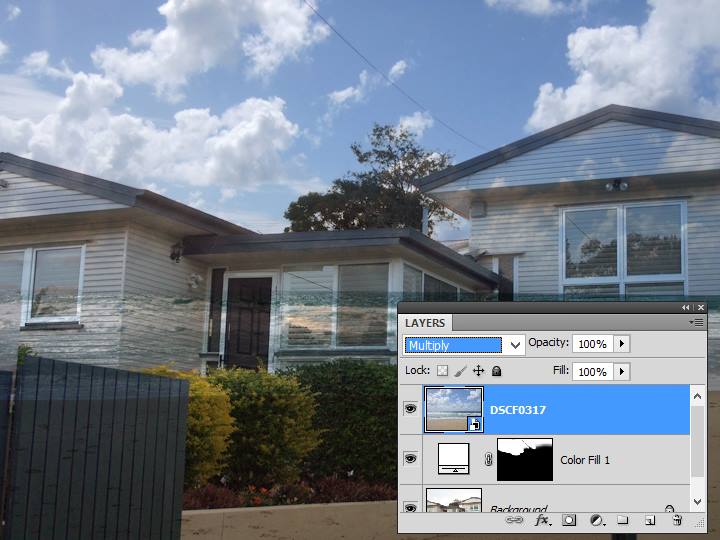
Sometimes I use "Darken" mode instead of "Multiply". Try both and see which works for any given photo. Darken mode can make masking (later) a bit easier, but I find it does weird things to edges of trees and stuff, so I usually use Multiply.
At this point, you need to evaluate the depth of field of your photo, and decide if your sky layer needs blurring. Too often we see in-focus skies against out-of-focus horizons, which looks ridiculous, of course. If you see that your sky should be blurred, the Gaussian Blur function should be sufficient. Newer versions of Photoshop allow you to apply the blur as a Smart Filter on the Smart Object – if your version doesn’t, you’ll need to Rasterize the sky layer first, via the Layer menu, then apply the blur.
I’ll demonstrate a blur a bit later in this article.
Next, add a mask to the sky layer. Then choose the Gradient Tool, and draw a gradient from black somewhere below the horizon, to white at the top of the image:
This gradient step is important for two reasons. First, because skies have a natural gradient in them in real life, tending to be lighter near the horizon. Secondly, and more important, it makes the next masking step (with the brush) a heck of a lot easier.
This bit might take you a few attempts. If you start with the black end of the gradient close to the horizon, it will make the sky completely white down there. That’s perfect for some photos, but not for others. Conversely, if the black end of your gradient is a long way below the horizon, the sky at the horizon will be quite rich. Again, this might be suitable for some photos, but implausible for others.
So you’ll probably find that you have to try it a few times. Draw the gradient, evaluate, then Ctrl Z to undo it and draw another one if necessary, then repeat.
Then use your black brush to mask away any sky that’s still visible on the foreground:
Where the foreground item is white or light-coloured, you’ll need to be accurate with your masking. Where the foreground item is black or dark-coloured, you can be less accurate (rough, even). You’ll see what I mean once you try it.
Importantly, trees usually fall into the latter category. I love this method because there isn’t much tree masking involved. Ain’t nobody got time fo’ dat.
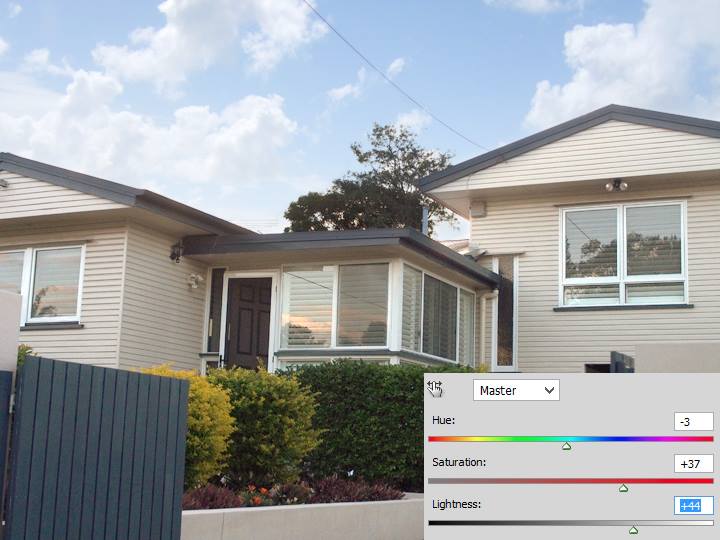
Finally, add a Hue/Saturation layer and clip it to the sky layer (Ctrl Alt G or Photoshop, Ctrl G for Elements):

Use the sliders to control the final appearance of the sky. Mainly you’ll use the Lightness one to brighten it up, then maybe the Saturation one to make it a bit more vivid. I also nudged the Hue to the left a bit in this example, to give the sky a slightly more cyan look, but that’s not so common:
IMPORTANT REALITY CHECK: If the sky was blown out in your photo, it was blown out for a reason. Because the light was very bright back there. PLEASE don’t fall into the trap of putting rich dark skies into every photo – it usually looks implausible. Keep it light and realistic.
Here’s the before and after. The Multiply blend mode has darkened the trees a little, but it’s still perfectly credible, and I didn’t have to mask a single leaf. Win:

Demonstration 2
In the following examples, I didn’t go to the effort of taking screenshots while I was doing each stage of the edit, so I’m just showing you the progression with each layer turned on.
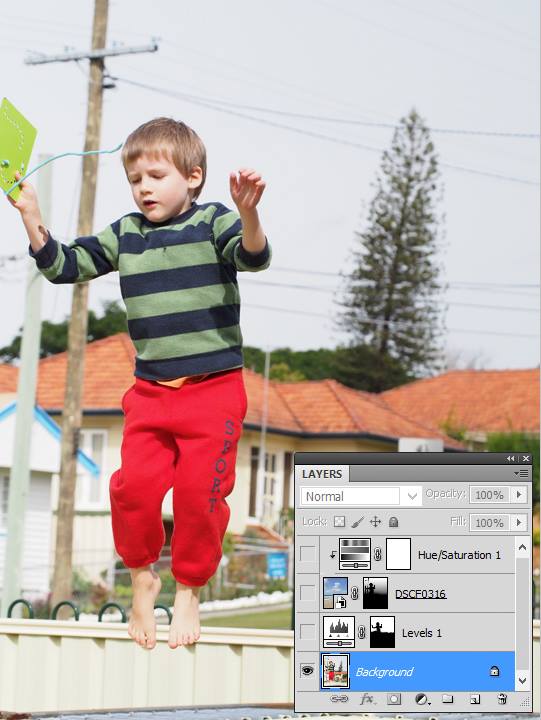
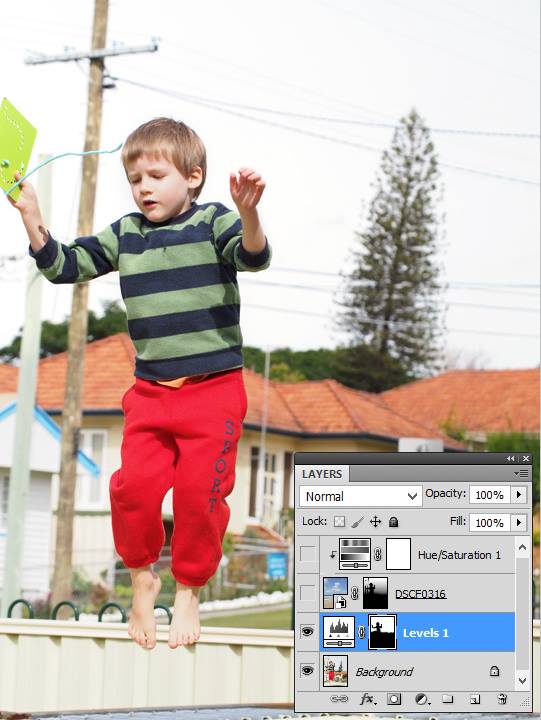
1. Here’s the photo as it was captured (in jpeg):
2. Here’s the sky whitened using This method:
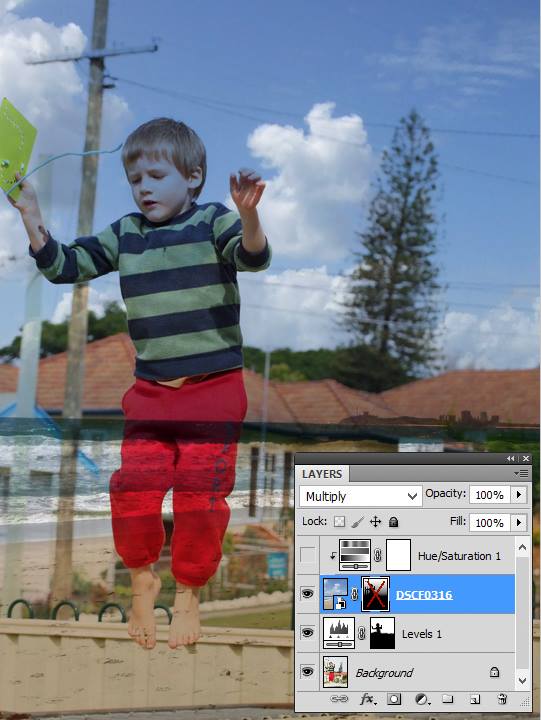
3. Here’s the sky placed, positioned, and set to Multiply mode:
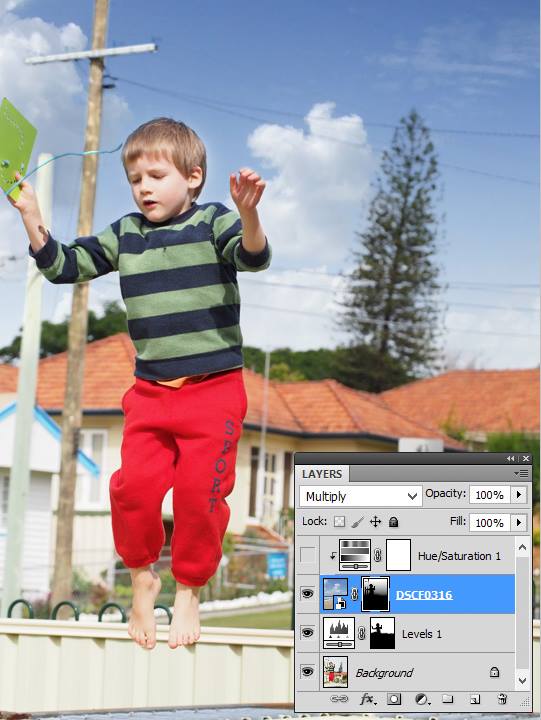
4. The mask applied to the sky – first a gradient, then the brushing. (You’ll notice my masking isn’t entirely accurate, but it doesn’t really matter because I know I’ll be lightening the sky next):
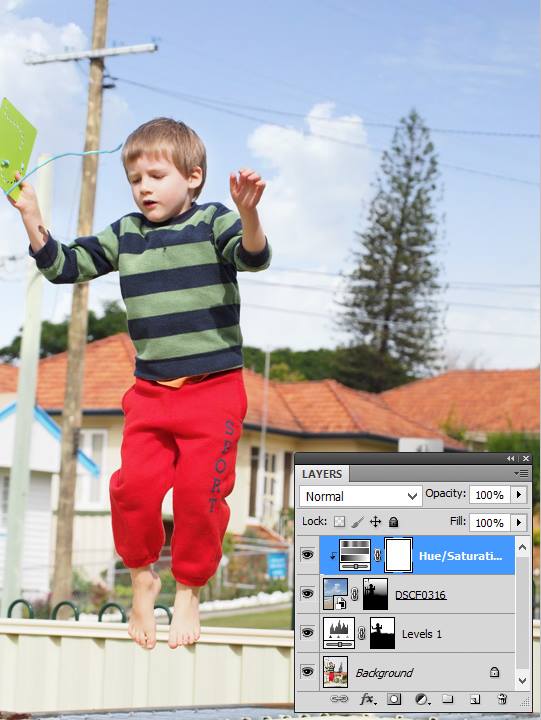
5. The Hue/Saturation layer added, and the sky lightened and saturated a little:
Demonstration 3
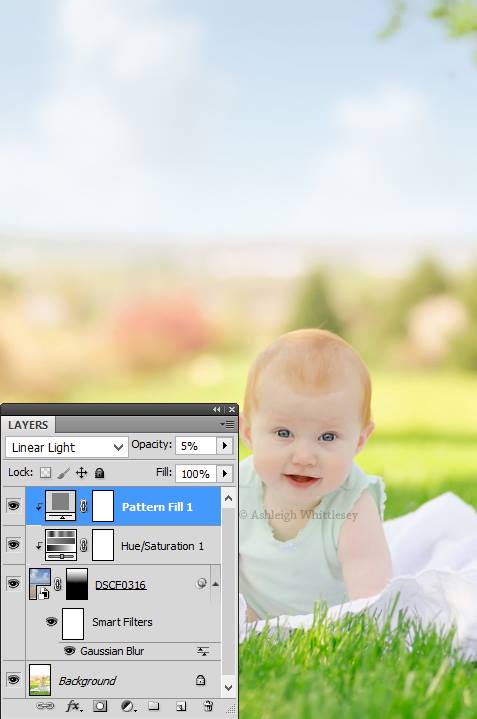
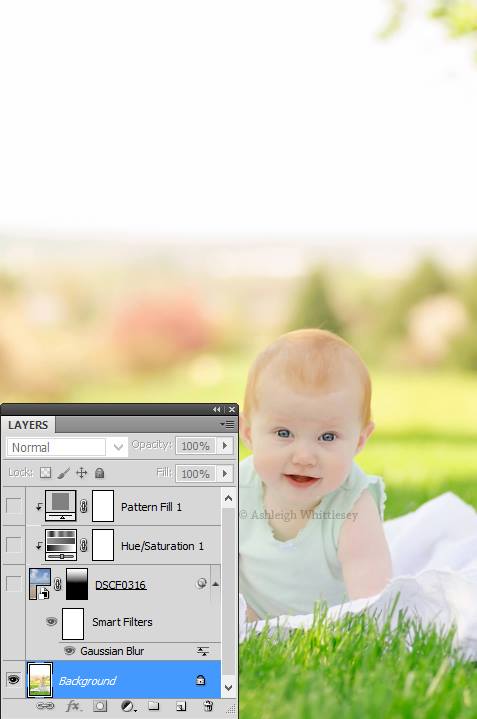
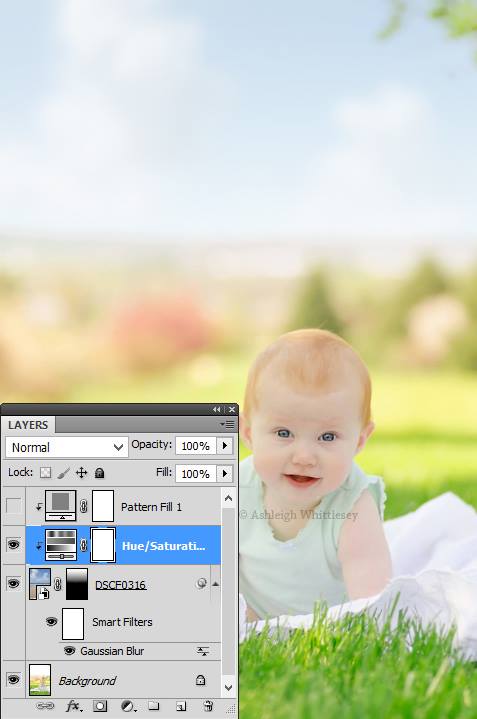
Thanks so much to Ashleigh for providing this photo so I can do one more example. This time, the background is very blurred, so it will be necessary to blur the sky as well:
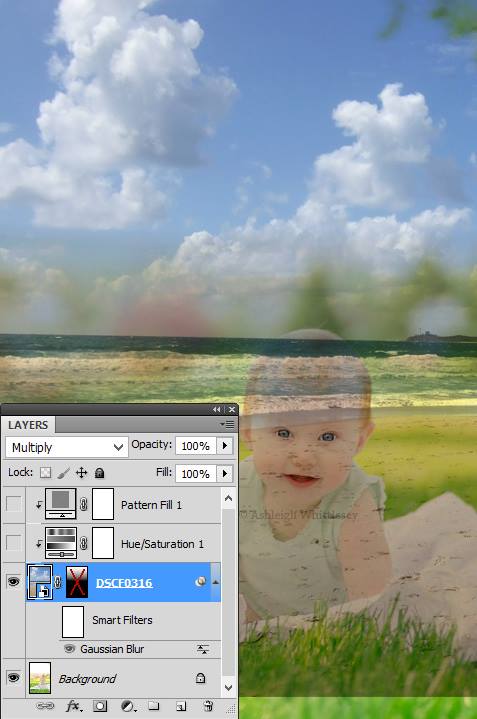
Here is the sky placed, positioned, and set to Multiply mode:
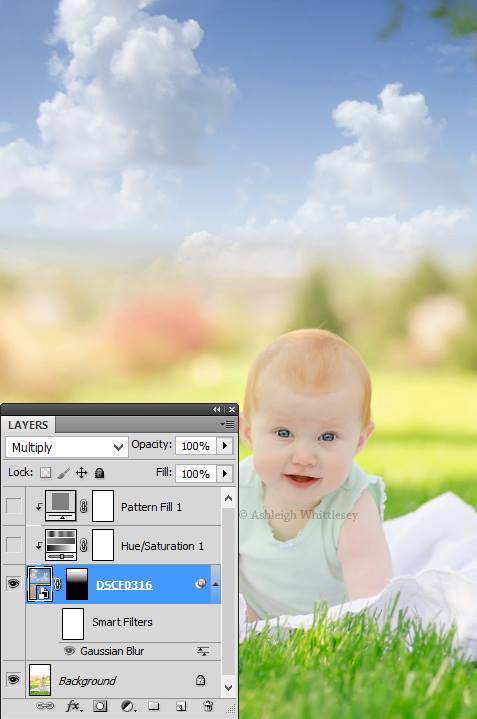
Mask added – gradient then brushing:
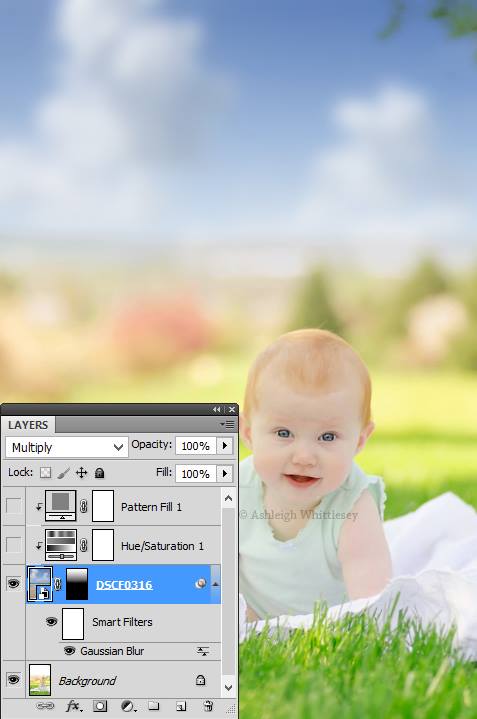
Gaussian Blur added:
Here’s the Hue/Sat layer, clipped to the sky layer, and adjusted to make the sky look credible:
Finally, a noise layer added to prevent banding in the blurred sky. (You can’t see the noise at this small size, of course):