
A glamour makeover
The power to create amazing beauty is the most famous – or infamous – facet of Photoshop.
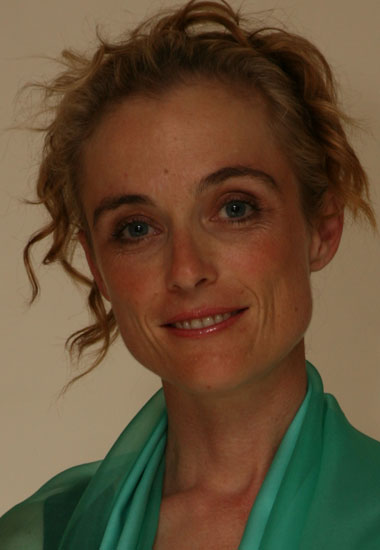
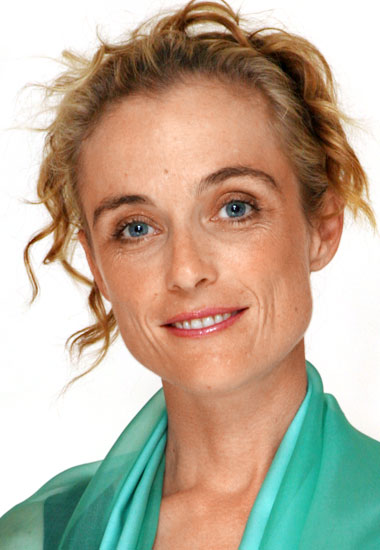
This photo is a little under-exposed, but it’s a beautiful photo of a beautiful lady:
To begin with, I lighten the photo overall:
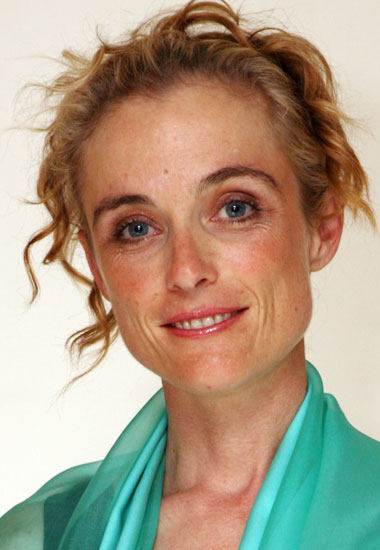
The top half is still a little dark for my liking, so I lighten it up a little more:
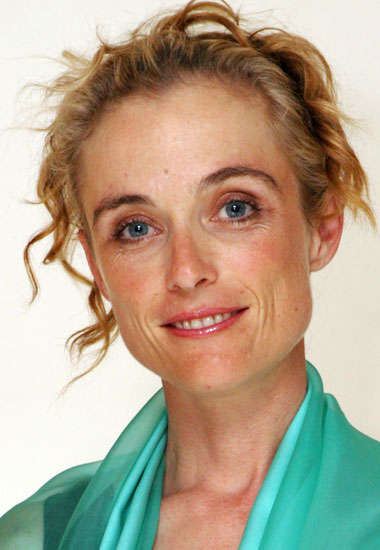
A little more lightening in a few areas. Now I’m satisfied that I have a good base image to work on:
I select the skin, and balance the colour a little. Any areas that were too pink or too yellow are now under control:
I duplicate the skin, and create a "perfect" skin layer. This looks ridiculous at this stage:

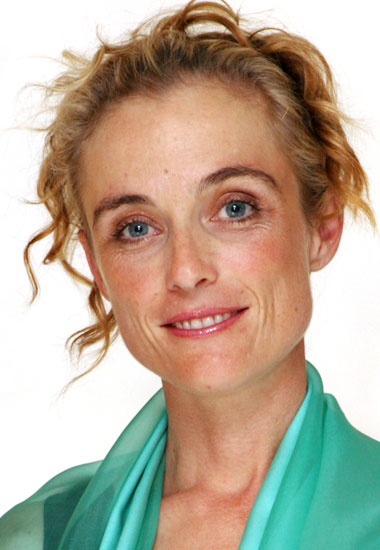
By reducing the opacity of the "perfect" layer, I allow some of the realistic skin texture to come through. The aim is to create a flattering appearance, without looking "plastic":
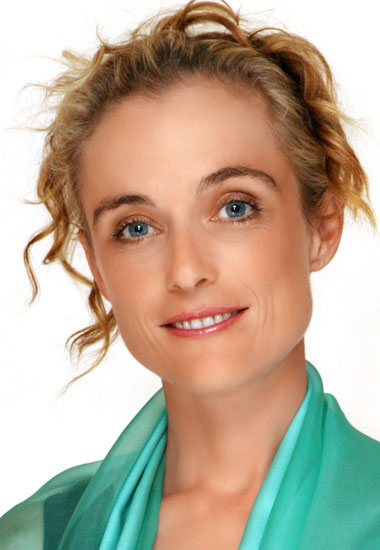
Finally, some small cosmetic adjustments, and some sharpening.
