The wonderful Dust & Scratches filter
The Dust & Scratches filter (in Photoshop and Elements) is amazing. Such a simple tool, yet capable of so much magic.
I use it most of all for, yes, dust and scratches, on the historic photos I restore. It saves me a LOT of time, to clean up little specks in an instant which I would otherwise have to laboriously clone or heal one at a time.
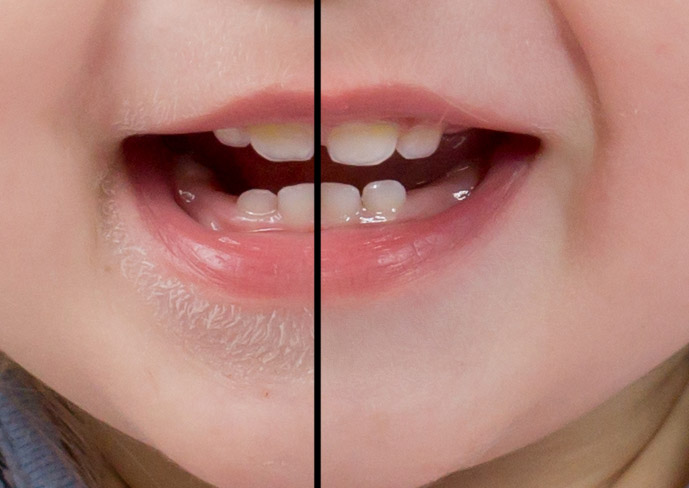
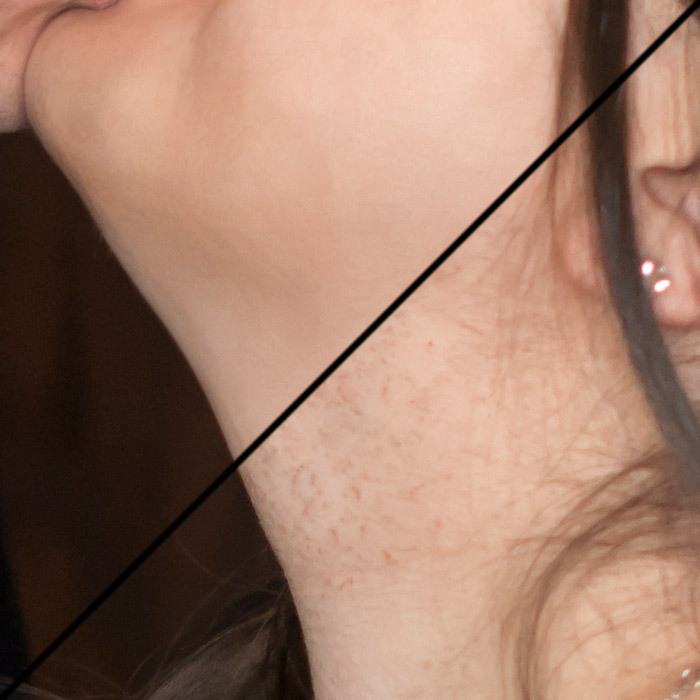
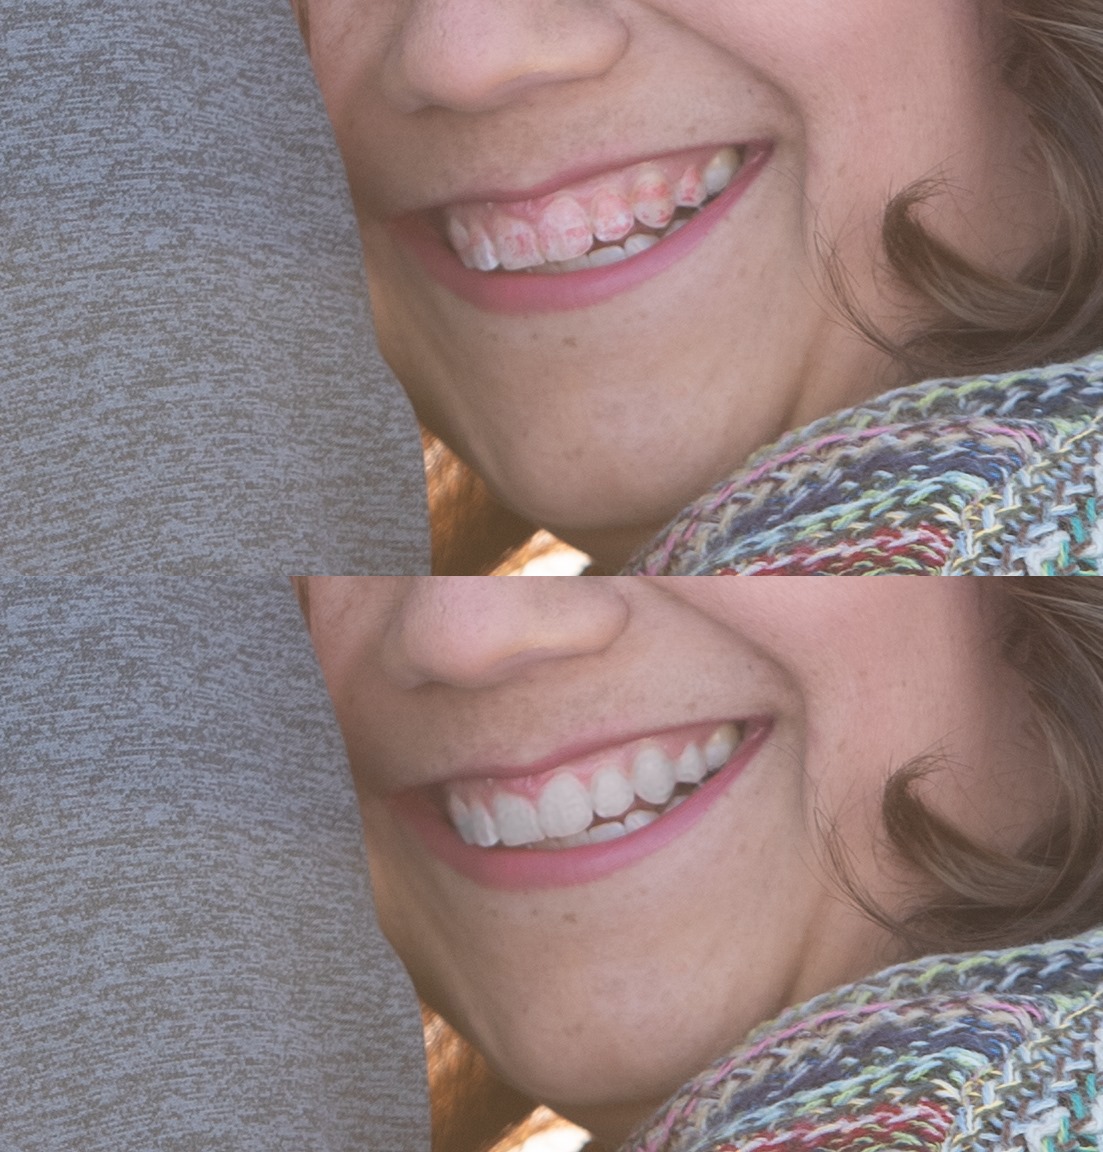
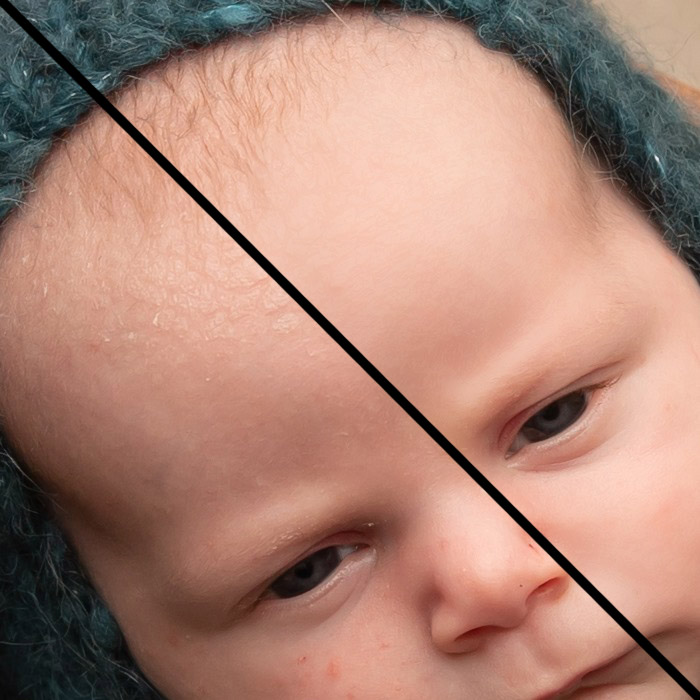
But it’s not just for old photos. Gosh no. It’s becoming famous for regularly kicking Frequency Separation’s ass for all sorts of skin issues – spots and pores and flakes. It’s also brilliant for removing lint from clothing. Basically, any problem that involves very small detail.
My thanks to Amanda Kitto for allowing me to use this close-up for this demonstration:

She asked me how to remove the little milk spots from the nose. Dust & Scratches makes it dead easy …
Step 1:
Duplicate the Background layer. Never do this kind of work on the Background layer itself. More information here.
Step 2:
Zoom in to 100% view on the problem area. Never use this filter at any lower zoom level.
Step 3:
Choose the Dust & Scratches filter from the Filter menu:
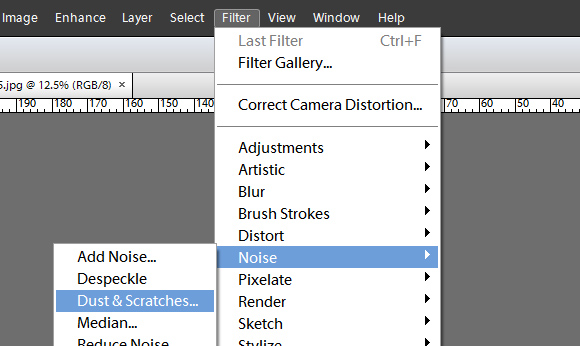
Step 4:
Put both sliders at their minimum settings – 1 and 0 respectively:
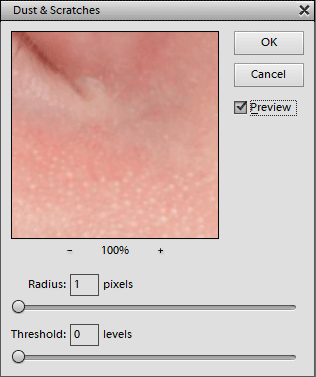
Step 5:
Slowly raise the Radius value one pixel at a time, until the problem spots are completely hidden:

This will make everything very blurry, but don’t worry about that for now.
Step 6:
Now raise the Threshold slider slowly. Gradually you will see small detail start to re-appear. Keep raising it until you see the problem spots start to re-appear. That’s when you know you’ve gone a little too far:

Step 7:
Slowly lower the Threshold again, to find the perfect balance between detail and smoothness. Your goal is to preserve the good detail that’s both smaller and larger than the problem spots, but hide the problem spots themselves. For this photo, I found that 8 was perfect:
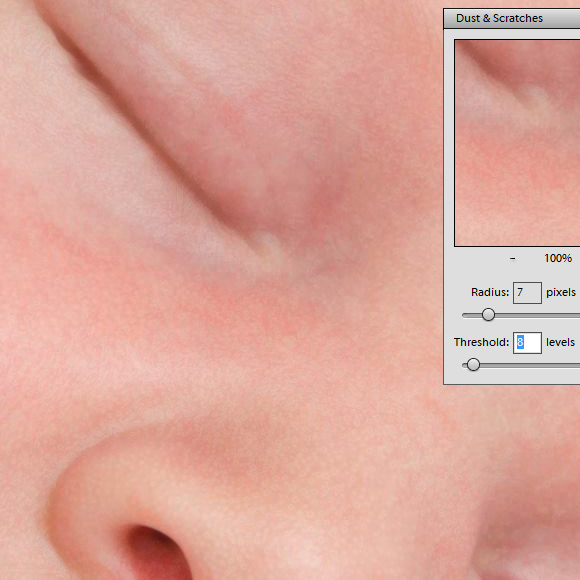
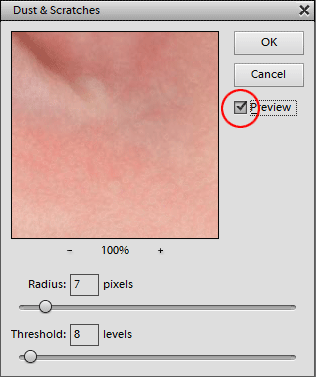
To aid you in finding the perfect setting for Threshold, toggle the Preview on and off. It will show you what detail you’re hiding, and preserving. It’s your best friend in this process:
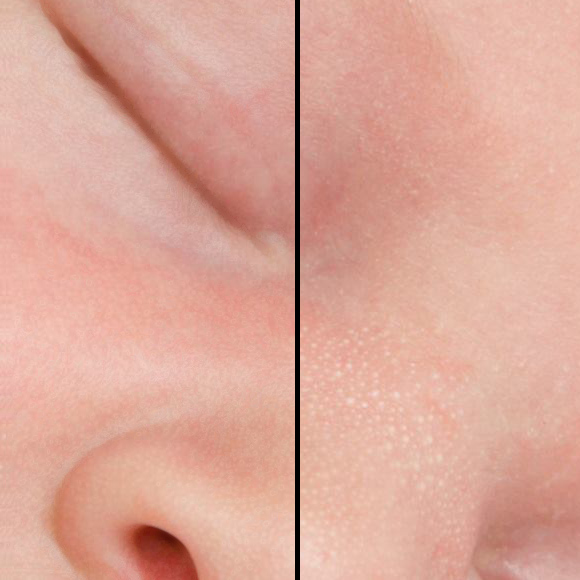
Here is a cross-section of my edit. See how, in the left panel, the lovely natural fine skin detail is still preserved, but the milk spots have disappeared. Like magic:
Step 8:
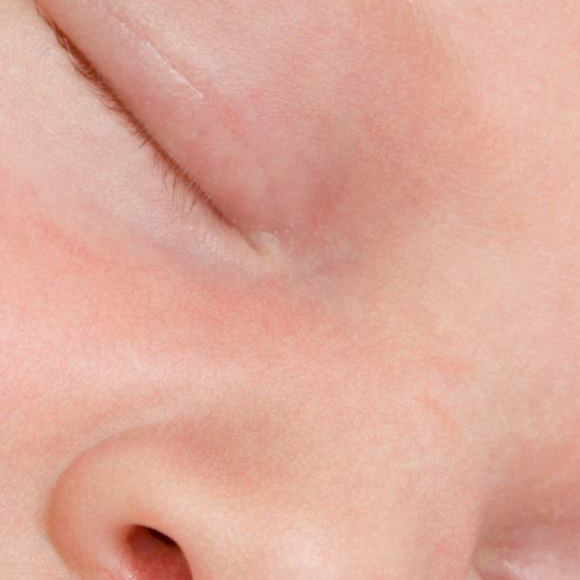
Of course, the filter has affected some important detail like the eyelashes. Now simply add a mask to the layer, and mask the effect as needed.
Here’s the final close-up, with the eyelashes returned to their beautiful sharp state:
Other examples:
