
Simple head-swap and face-swap tutorial
Head-swaps are hard to tutorialise, because there are so many variables that can make them very difficult. In this article, I’ll show you the basics.
Head-swaps can be done in both Photoshop and Elements. There’s one slight difference in the method for Elements users, which I’ll mention when we reach it.
When to do it
Head-swaps must be done very early in the workflow. In most cases, it will be the very first thing you do after raw processing. But some things might precede it, such as liquifying. More information here.
How to do it
To summarise it, you choose your photos, do the raw editing on them, then place the new head on, and mask it in. It’s not always as easy as that, of course. Anyway, let’s take a look at some examples. First, we’ll look at a face-swap, where the head is ok, but the facial expression needs changing.
(Thanks to Kim for providing these photos for me to use.)
Face-swap
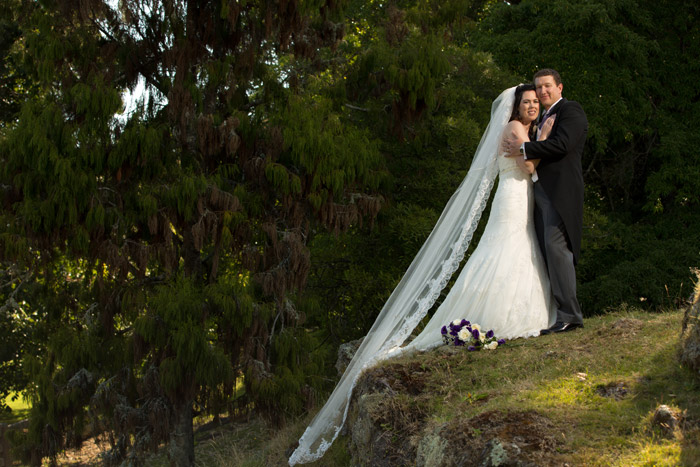
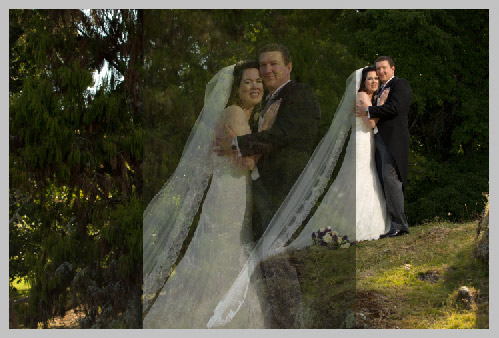
Here’s Kim’s lovely photo:
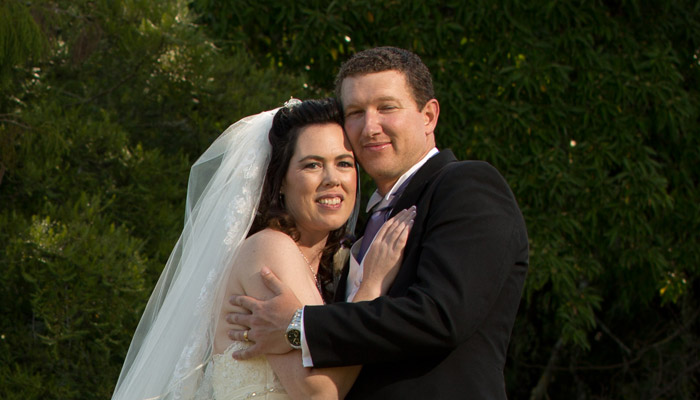
But on closer examination, the groom was squinting or blinking:
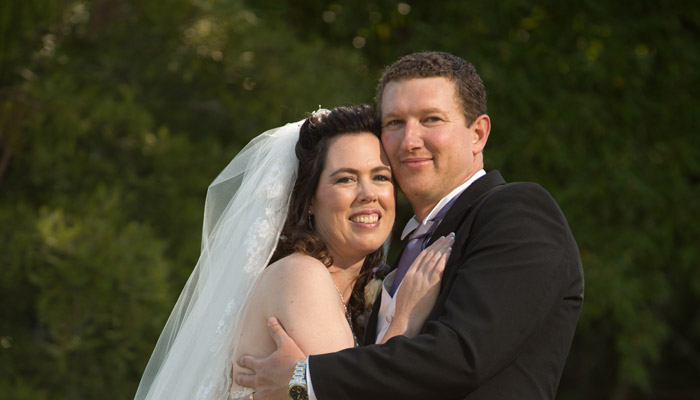
So Kim looked through the set, and found another photo where he looked nicer:
STEP 1:
Do the raw processing on both photos. Obviously it’s ideal if they match as closely as possible.
STEP 2 (for both Photoshop and Elements):
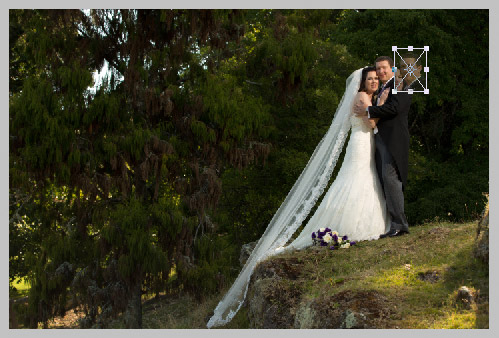
Do not open the donor photo! Only open the main photo, then go to File>Place, and choose the donor photo. (Use "Place Embedded" if your version of Photoshop gives you an option.) This will put the donor photo on your main photo:
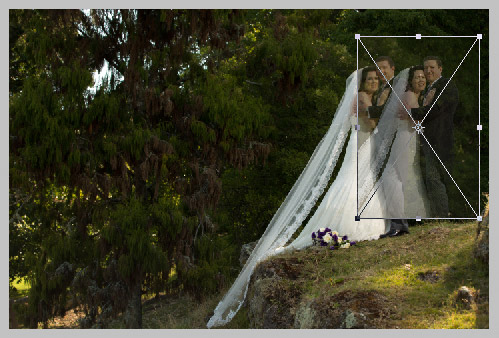
Press Enter to commit the placement, then lower the layer opacity by about half …
… so you can press Ctrl T to get the handles again, and shrink the photo to roughly the right size:
ALTERNATIVE STEP 2 (for Photoshop only):
Open both photos. With the marquee tool, select the head required. Don’t select too tight, give yourself plenty of margin for error:
Copy and paste that head into the main photo:
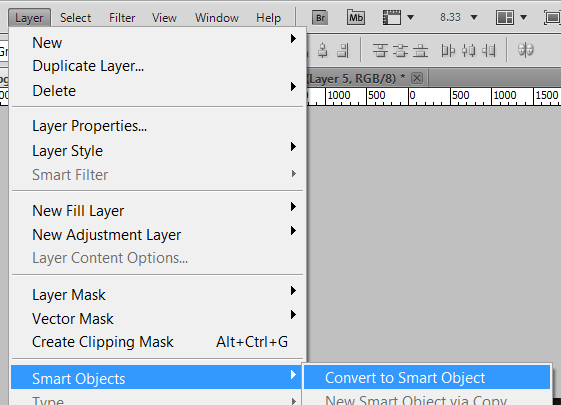
Immediately go to the Layer menu and convert the pasted head to a Smart Object.
Then reduce the opacity by about half, press Ctrl T to get the handles, and shrink down to roughly the right size:
The rest of the steps are for both Photoshop and Elements. You’ll see I’ve proceeded with the head-only layer, because I have Photoshop, but it would be the same if I was using the whole photo, if I had Elements.
STEP 3:
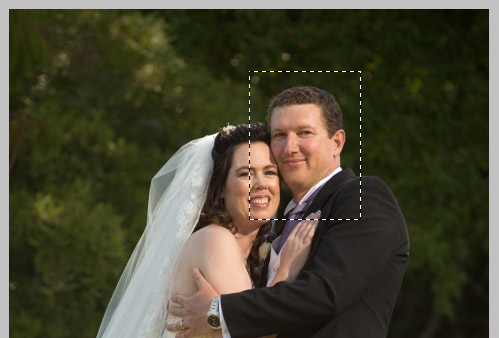
Now zoom in and position the new head more carefully. Rotate it if necessary, as I have done here:
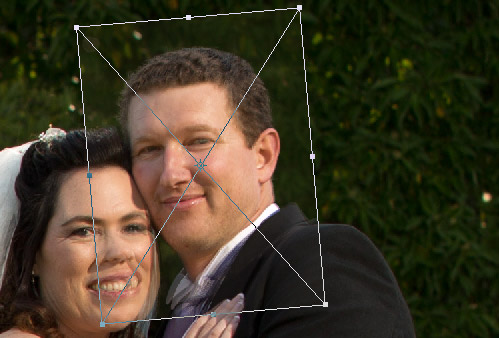
At various stages, I find I have to press Enter to commit the transformation, then increase the layer opacity to 100% again, and turn the layer on and off. Sometimes I’ll tweak a bit more like that, or lower the opacity again and fiddle more. Take your time.
STEP 4:
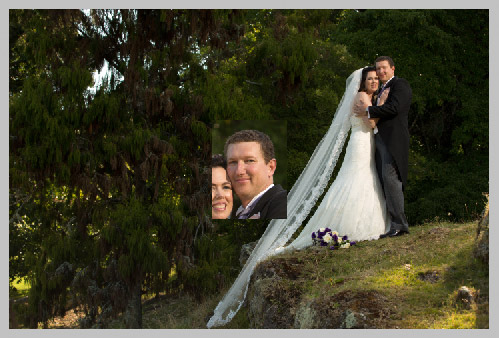
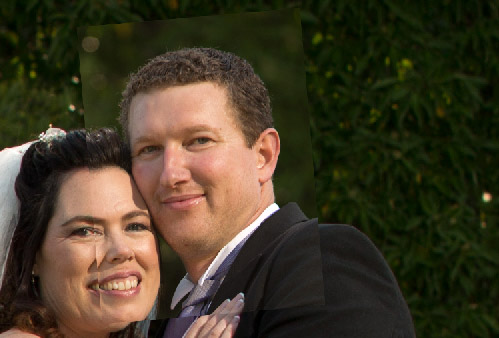
Add a black mask to the layer, to hide the head completely:
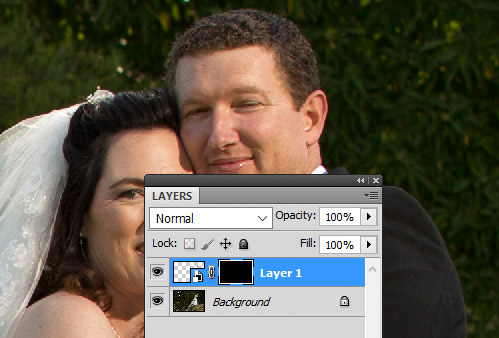
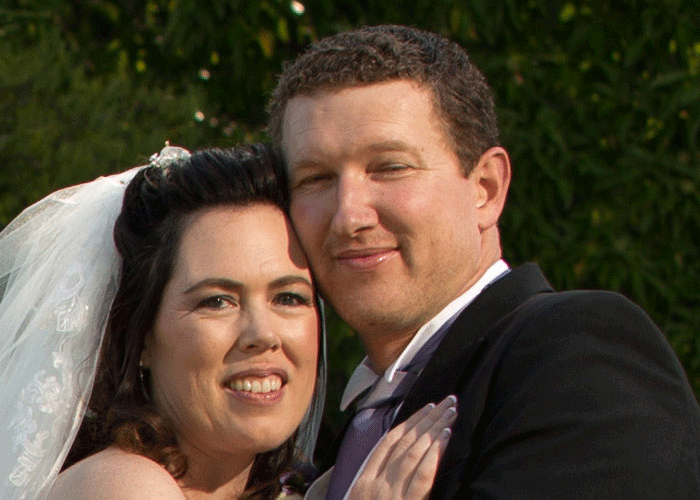
Then mask as usual, to reveal only the part of the face that you need. I’ve done that, and here’s the before-and-after:
Head-swap
Now we’ll look at an example where the whole head needs to be switched. The steps are the same, but the alignment can be trickier.
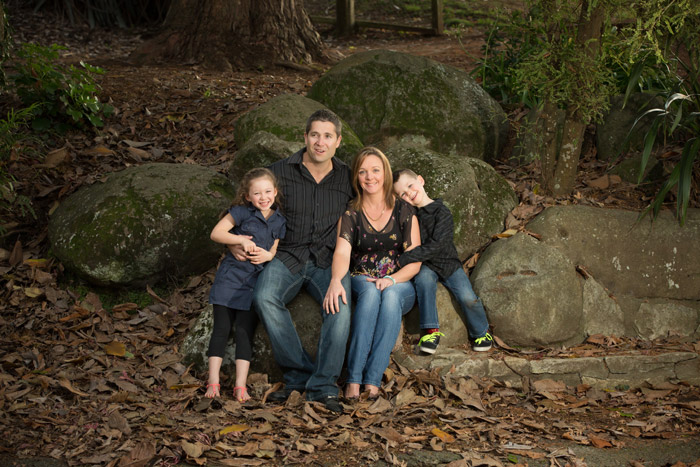
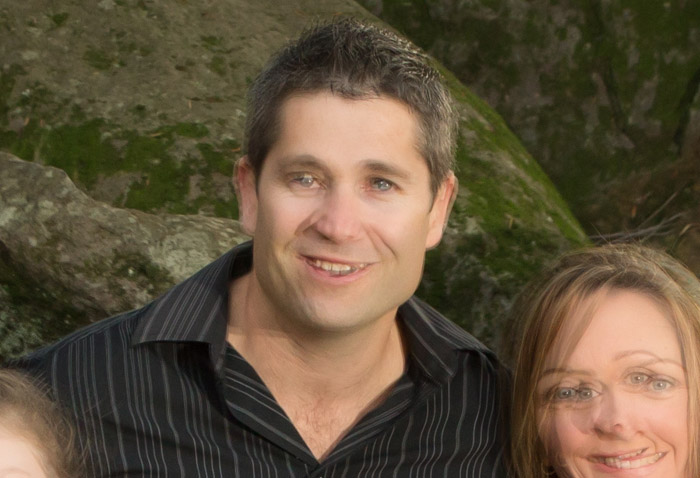
A nice family photo, but Dad got distracted:
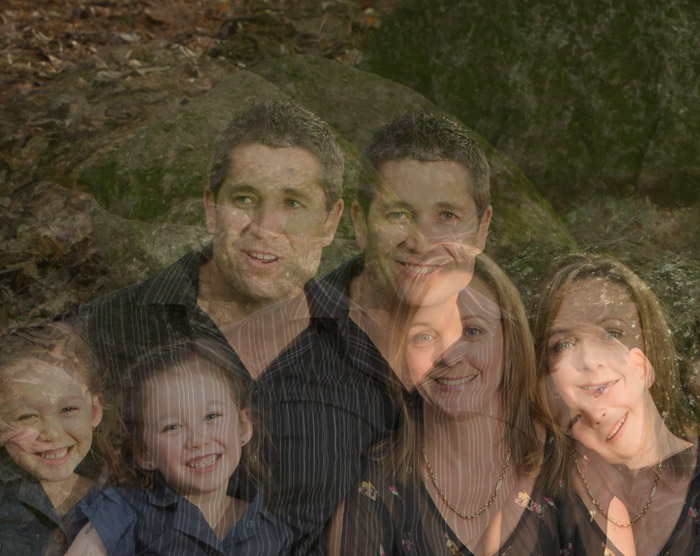
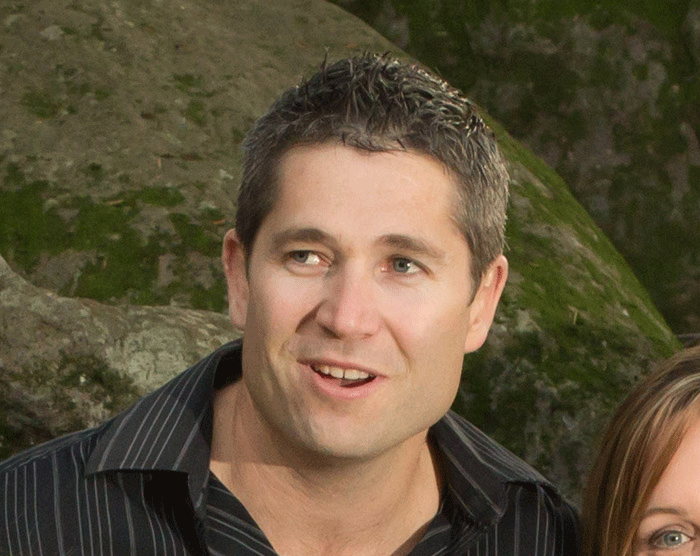
So I bring in an alternative head:
Then I zoom in and position it really carefully. In this case, my main aim is to line up the collar as accurately as possible, because that stripy fabric is an alignment nightmare:
(Note: The Alt-click trick for the centre point that I mentioned in this article can come in handy here.)
Then hide the layer with a black mask, and paint white to reveal the new head where you want it. Again, I must stress the importance of frequently turning the layer off and on, and very carefully examining your masking. Don’t leave any trace of your work.
Here’s the before-and-after:
If the masking aspect of this method is unfamiliar to you, I beg you to consider my little class. Only a few dollars to change your life, I promise.