
Adding a little bit of blue to a white sky (Elements)
This tutorial is the Elements alternative to this Photoshop tutorial. It’s for adding a bit of plain blue to a white sky. If you wish to fix a white sky by putting a different sky photo into it, use this method instead.
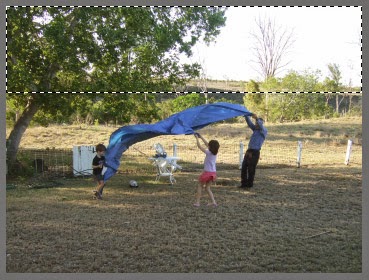
Start by using your rectangular Marquee Tool to draw a selection around the white sky. Allow a little bit extra space under the horizon, as I have done here:
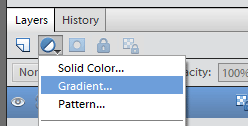
Add a Gradient layer:
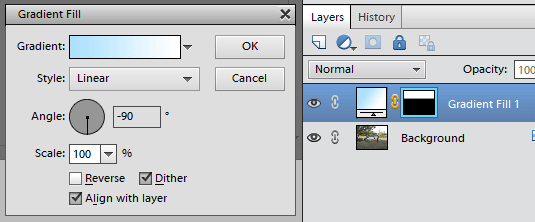
Make it a light-blue-to-white gradient. Make sure "Dither" and "Align with layer" are checked, and make sure the angle is correct, so it goes from light blue at the top to white at the horizon:
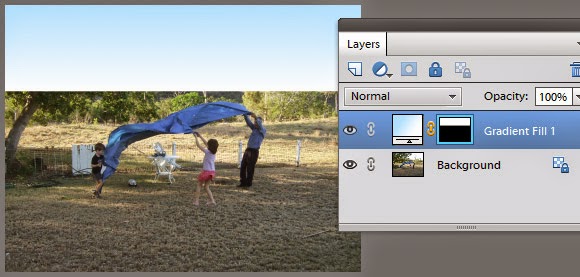
Here’s what it will look like:
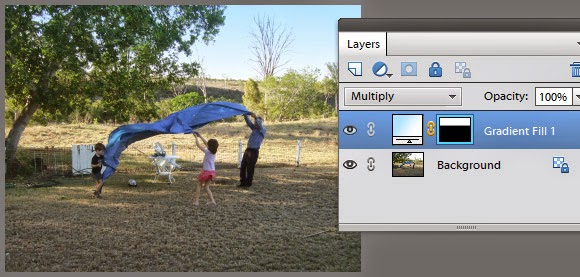
Then, change the layer blend mode to either "Darken" or "Multiply". Multiply is best in most cases, I’ve found. The colour will blend nicely in with the photo:
Finally, turn the Gradient layer on and off a few times to assess it, then paint with black on the mask if necessary, if there are any areas which have turned blue that shouldn’t have.
If you want a different shade of blue, just double-click on the gradient thumbnail in the layers panel, to edit the colour. Remember, don’t go too dark! It will look silly and implausible. Keep it light.