
Adding a little bit of colour to a white sky
A blown-out sky is annoying, but sometimes unavoidable. Here’s a way to take the edge off it, without going to too much trouble.
Notes:
- This is only for Photoshop – it won’t work in Elements, sorry. If you have Elements, use this method instead.
- I first wrote this tutorial way back in Photoshop CS2, but nothing has changed - it still works perfectly in all versions.
- If you wish to fix a white sky by putting a different sky photo into it, go here.
1. Add some subtle colour
This beautiful photo is exposed well for the subjects, but the sky has gone.

Add a Selective Color adjustment layer:
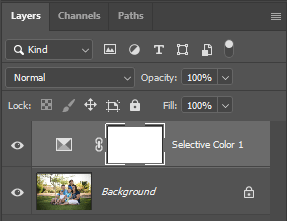
Make sure the adjustment method is set to "Absolute" …

… then choose "Whites" from the drop-down menu:
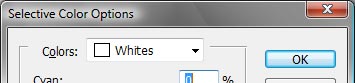
Add 10% cyan and 4% magenta to the whites (you can change these settings later, of course):

Now you’ve added a small amount of colour to the sky. Trouble is, you’ve added it to other whites in the photo as well! Time for masking.

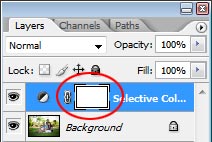
2. Masking
Make sure the layer mask of your Selective Color layer is selected. Presently, the mask is all white, meaning that the adjustment is affecting the entire image.
Choose the Gradient Tool, and make sure your foreground colour is black.


Draw a gradient from just below the horizon, to near the top of the image. Hold down the Shift key to constrain the gradient to vertical.
This masks out the foreground, as well as lightening the sky near the horizon, which is quite natural.
If there are any other whites in the photo (eg a white hat on your subject) which remain affected by the adjustment, simply use your Brush Tool to mask out those items.
Finally, evaluate the strength of your sky. If you’d like it stronger, simply re-open the Selective Color layer and add more cyan and magenta to whites.
3. Add noise
There’s a small problem with this method – fake sky colour tends to get banding in it. To prevent this, add a noise layer.
This is very important. Please don’t skip this step.
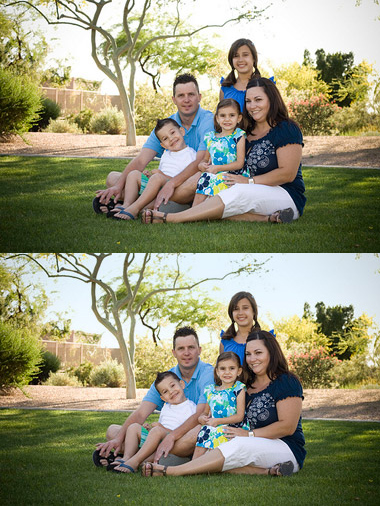
The finished product:
Compare the original with the adjusted image below it:
Conclusion:
This method works best when used subtly. Don’t overdo it!